When you’re done with harvesting your last summer crop, you can just leave the raised garden bed until spring or replenish wherever needed.
Protect your soil by adding mulch, removing diseased plants and spent crops. To enrich the soil you must add old-compost.
Not doing so could damage the growing medium and it will directly impact your next harvest.
As mentioned above, winterizing raised garden beds is simple and needs little effort.
Find your zone below and adjust the timing to match. Let’s get your beds ready.
Why Does Winterizing Raised Beds Matter?
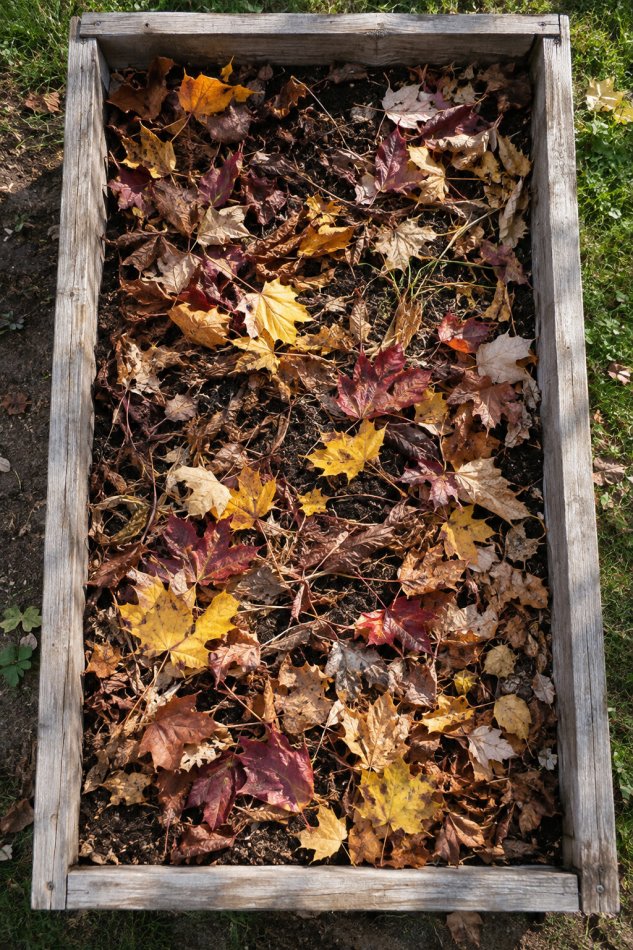
Bare soil takes a beating over winter. Rain packs it down, and snowmelt washes nutrients away.
Freezing and thawing add more damage. The soil heaves up and sinks back, which can pull small roots out of the ground and stress wooden frames.
Weeds and pests also settle in for the cold months. Left alone, they wake up before your seedlings do.
A little work now pays off in spring:
- Looser, richer soil
- Fewer weeds to pull
- Healthier plants
- An earlier start to planting
Know Your Timing: Winter Prep by Climate Zone
Your first frost date sets the whole schedule. Search for your zip code plus “first frost date,” or check your local extension office.
Then use these zone groups as a starting point.
Zones 3-4
- Start prepping: Late August
- Cover crop window: Late August to mid September
- Mulch depth: 4 to 6 inches
Zones 5-6
- Start prepping: September
- Cover crop window: September to early October
- Mulch depth: 3 to 4 inches
Zones 7-8
- Start prepping: October
- Cover crop window: October to mid November
- Mulch depth: 2 to 3 inches
Zones 9-10
- Start prepping: November
- Cover crop window: October to December
- Mulch depth: 1 to 2 inches
In warm climates, winterizing means adjusting, not shutting down. You may keep growing all winter. You just protect the soil and swap in cool-season crops.
How to Winterize Raised Garden Beds?
1. Plan and Test: 6 Weeks Before First Frost
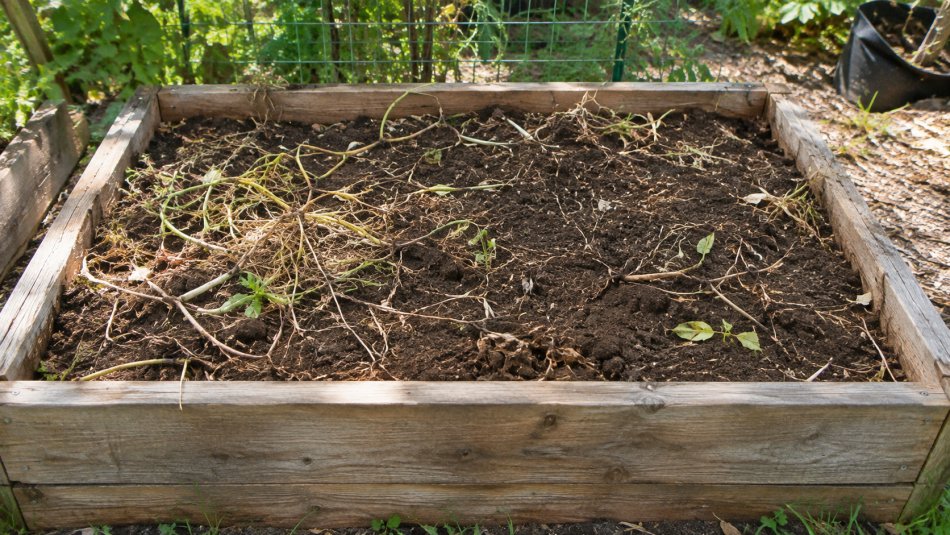
This is the thinking stage. Do it now and the rest goes smoothly.
Test your soil. Fall is a great time to check pH and nutrients. Lime and other slow-acting amendments need months to work. Add them now and they are ready by spring.
Sow cover crops. Winter peas, fava beans, crimson clover, and winter rye all work well in raised beds. Aim for plants that reach 6 to 8 inches before growth slows.
Plant garlic. Plant it about four to six weeks before the ground freezes. The roots need time to settle in before dormancy.
Take notes and photos. Write down what grew where, and any pest or disease trouble. This makes crop rotation easy next year.
Check this: 9 Ways to Protect Plants from Frost and Freeze
2. Clean Up Smartly: 3 Weeks Before
Notice the word smartly. You are not trying to strip the bed.
Remove diseased plants. Cut them at the soil line. Bag the leaves and stems and put them in the trash, not the compost. Most backyard piles never get hot enough to kill disease.
Pull weeds before they set seed. Chickweed, dandelions, and clover are the usual suspects. Get the whole taproot on dandelions or they come right back.
Leave healthy roots in the soil. They break down over winter and feed the soil life. They also leave little tunnels for air and water.
Keep some habitat. Ladybugs, ground beetles, and spiders overwinter in leftover plant material. Clear debris only where pests gave you trouble.
3. Protect and Cover: 1 Week Before
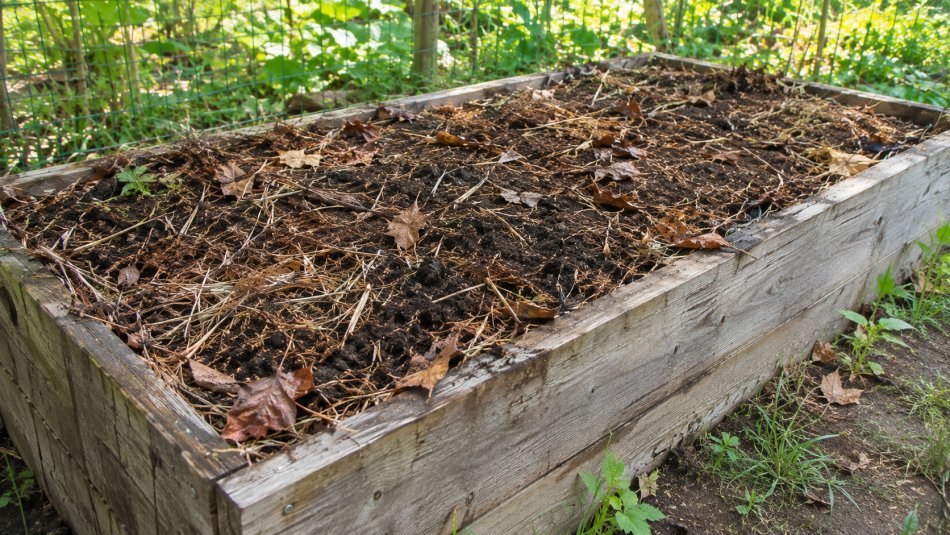
Now the bed gets its winter coat.
Add compost. Spread a 2 to 3 inch layer on top. Rain and worms will pull it down, so you don’t need to dig. It also tops off soil that sank during the season.
A 3-inch layer on a 4 by 8 foot bed takes about 8 cubic feet of compost.
Mulch bare beds. Good choices include:
- Shredded leaves
- Straw (not hay, which is full of seeds)
- Pine needles
- Sheep wool
- Chopped, healthy plant stems from your own bed
Mulch around perennials and root crops. Keep mulch off the crowns and a few inches away from stems. The goal is to keep soil steadily cold, not warm.
Add covers if you are growing through winter. Row covers and low tunnels protect hardy crops. More on that below.
4. After the First Frost: Shut Down and Store
Once the tomatoes turn black, it is time to put things away.
Protect your irrigation. Drain hoses, disconnect them, and store them. Blow out or drain drip lines if your area freezes. Shut off and insulate outdoor spigots.
Store your supports. Wooden stakes rot at the soil line, metal rusts, and plastic gets brittle. Knock off the soil and dried vines, let everything dry, and stack it indoors.
Care for your tools. Clean off the dirt, sharpen the blades, and wipe them with a little oil. Wipe pruners with 70 percent rubbing alcohol if they touched diseased plants.
Use your foliage. Chop healthy stems and leaves into 6 to 12 inch pieces. Spread them over the soil as extra mulch.
5. Mid-Winter: Light Maintenance
You are mostly done. A few small habits keep the work paying off.
- Stay off wet or frozen beds. Walking on them compacts the soil, even in a raised bed.
- Leave snow where it falls. It works like a blanket.
- Check your mulch after big storms and top it up if it blew away.
Cover Crops vs. Mulch vs. Both: Which Should You Pick?
Both protect the soil. They just work in different ways.
Cover Crops
- Cost: Low, since you only buy seeds
- Effort: Medium
- Soil benefit: Adds nitrogen and roots that feed the soil
- Best for: Beds you can sow early
If you want to feed the soil, choose a cover crop. Legumes like peas and fava beans pull nitrogen from the air and store it in their roots.
Mulch
- Cost: Free to moderate
- Effort: Low
- Soil benefit: Protects and insulates the soil
- Best for: Late starters and all climates
If you missed the sowing window, choose mulch. You can sow a cover crop in late winter instead.
Using Both
You can also combine them. Many cover crops die back in a hard freeze, and the dead plants become mulch on their own.
Check the Structure of Your Raised Beds
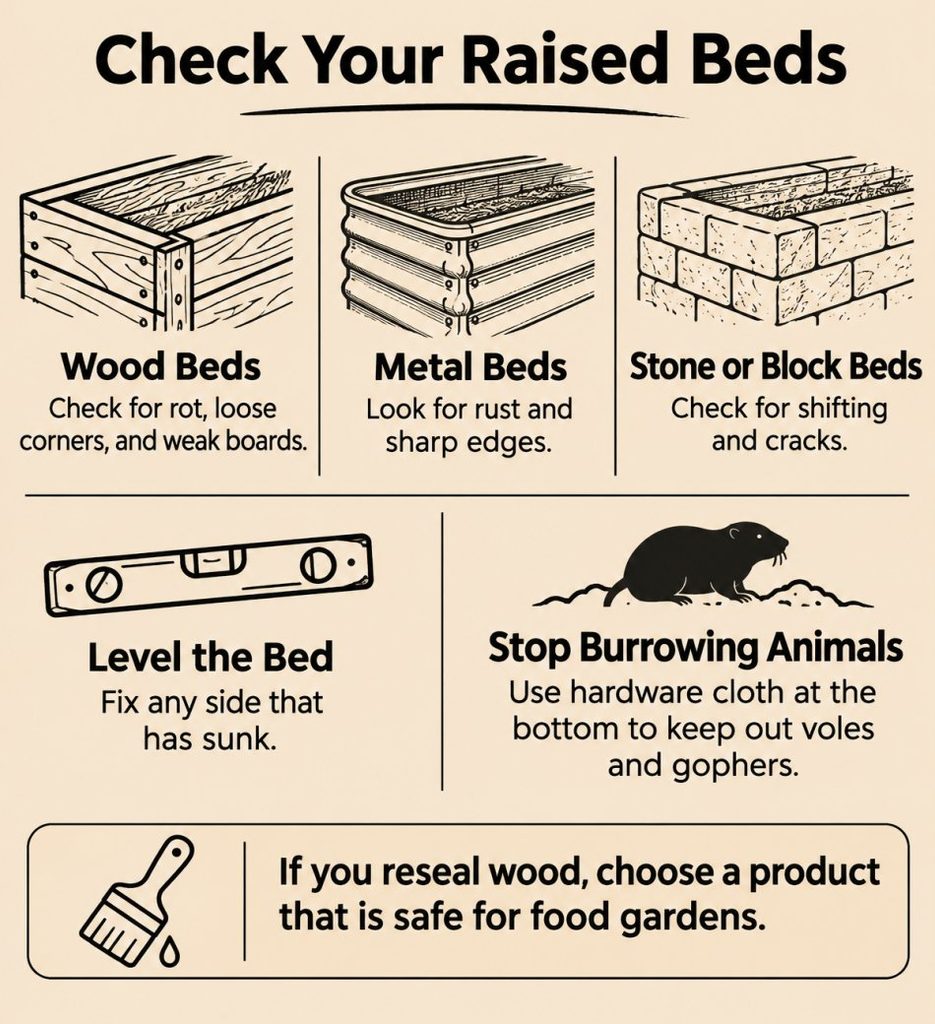
Fall is the best time to look at the bed itself. Repairs are easier before the ground freezes.
- Wood beds: Look for rot, loose corners, and bowing sides. Replace weak boards and tighten hardware.
- Metal beds: Check for rust and sharp edges.
- Stone or block beds: Look for shifting and cracks. Reset any blocks that moved.
- Level the bed. If one side sank, fix it now.
- Stop burrowing animals. If voles or gophers visit, line the bottom with hardware cloth before winter.
If you reseal wood, choose a product that is safe for food gardens.
Protect Your Irrigation System
Frozen water expands. That cracks pipes, fittings, and timers.
Skipping this step is one of the most expensive winter mistakes. It is also one of the easiest to avoid.
- Drip lines: Drain them or blow them out. Cap the ends.
- Hoses: Disconnect, drain, coil, and store them out of the weather.
- Timers: Remove the batteries and bring them inside.
- Spigots: Shut off the water supply and insulate the faucet.
Fifteen minutes here can save you a repair bill in spring.
Winter Pest Control, Naturally
Not every pest overwinters the same way. Knowing the difference saves you work.
Some hide in plant debris. Squash bugs, cucumber beetles, and cabbageworm chrysalises are common examples. Bag the debris from those plants.
Others, like squash vine borers, overwinter in the soil. Pulling roots does not help with those. It just disturbs the bed.
Remember that the same debris shelters helpful insects. Clean up where you had a problem and leave the rest a little wild.
Watch for rodents. Thick mulch makes a cozy home for voles and mice. Keep mulch a few inches from woody stems. Use hardware cloth guards around young fruit plants.
Growing Through Winter: Crops That Thrive in Cold
You don’t have to stop growing. Many crops like cold weather.
Good choices include:
- Spinach
- Kale
- Mâche
- Winter lettuce
- Carrots
- Garlic
Carrots are a favorite. Cold weather turns some of their starch into sugar, so they taste sweeter after a few frosts.
Also Read: 27 Vegetables to Grow Indoors in the Winter
Season extenders help these crops keep producing:
- Row covers: Cheap and easy. They add a few degrees of protection.
- Low tunnels: Hoops with plastic or fabric. A bit more work, but stronger protection.
- Cold frames: The warmest option. They cost more and need venting on sunny days.
7 Common Winterizing Mistakes to Avoid
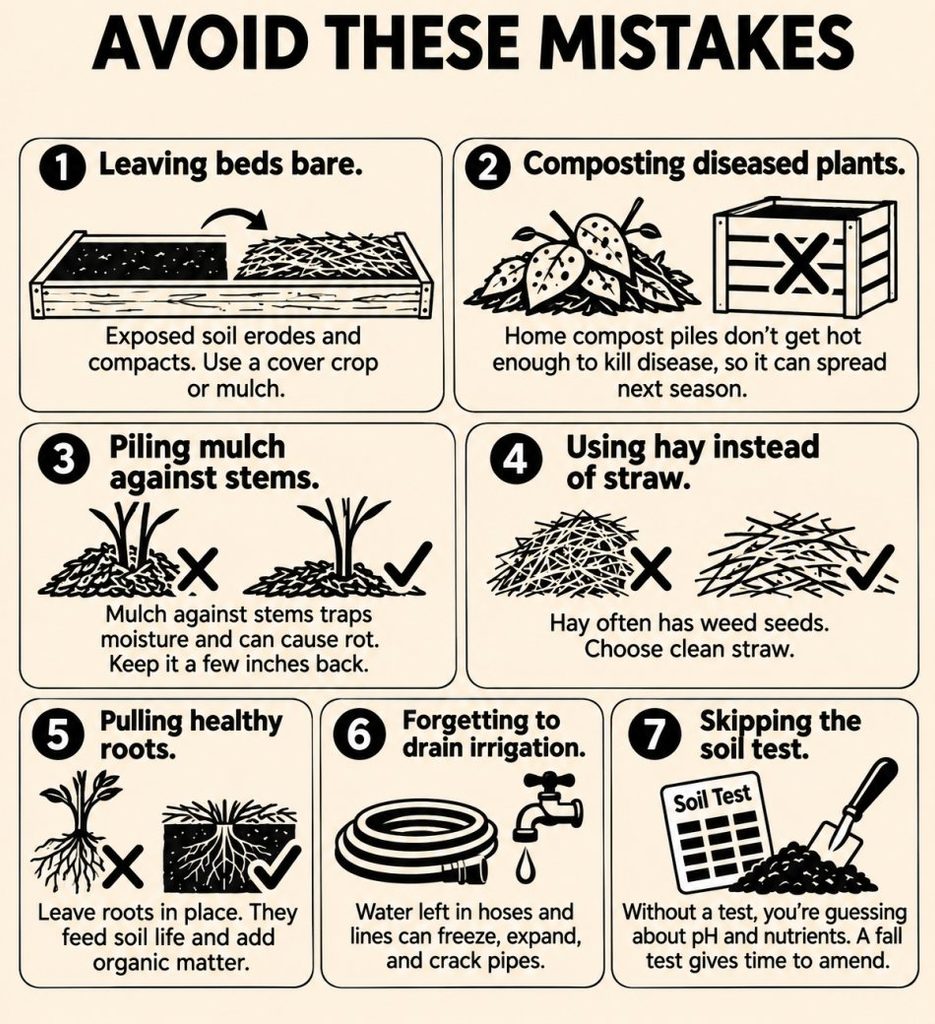
- Leaving beds bare. Exposed soil erodes with every heavy rain and compacts under snow and ice. A cover crop or a layer of mulch protects the structure you worked hard to build.
- Composting diseased plants. Home compost piles rarely get hot enough to kill blight, powdery mildew, or fungal spores, so the disease survives and spreads next season.
- Piling mulch against stems. Mulch heaped against plant bases traps moisture, which invites rot, fungal problems, and rodents looking for a cozy winter nest. Keep it a few inches back.
- Using hay instead of straw. Hay is full of weed seeds, so you end up mulching your garden with next year’s weeding chores. Choose clean straw.
- Pulling healthy roots. Leaving roots in place feeds soil life, adds free organic matter, and keeps the soil structure intact.
- Forgetting to drain irrigation. Water left in hoses, lines, and spigots freezes and expands, cracking pipes and fittings.
- Skipping the soil test. Without one, you’re guessing about pH and nutrients. A fall test gives you time to amend before spring planting.
Spring Payoff: What Your Winter Prep Will Do
When the ground warms up, pull the mulch back from the bed. This lets the sun heat the soil faster.
You should see looser soil, fewer weeds, and a bed that is ready earlier than your neighbors’. Cover crop residue can be cut and left as mulch, or worked in lightly.
Before planting, run through this quick list:
- Check soil moisture and temperature
- Reconnect and test irrigation
- Add a fresh dusting of compost if needed
- Review your notes for crop rotation
Conclusion
Winterizing a raised bed is not about making it look neat. It is about protecting the soil so it works for you in spring.
You don’t have to do everything on this list. Even two or three steps, like adding compost and mulching, make a real difference.
Start with the soil, finish with the hoses, and let your beds rest.


Khaja Moinuddin, a computer science graduate, finds joy in gardening and homesteading. Join him on this blog as he shares his experiences in homesteading, gardening, and composting