If you’re planning to raise chickens for meat or eggs, or you just think they’re cute, you need to provide 3 realistic things: food, water and shelter.
Depending on what you’re raising chickens for, you can get layer feed to boost egg production, or a protein rich, enriched diet for effective muscle growth.
Apart from store bought feed, you can give your hens table scraps like kitchen leftovers. This can be another great source of nutrition for your flock.
However, not everything from the kitchen can be thrown into the coop. You can check this article to know what they can and can’t eat.
As a beginner, it’s recommended that you first know the nutritional needs of your chickens, because it directly impacts their muscle growth.
Along with feed, water is just as important when you’re raising chickens for meat. Chickens drink a lot, especially as they grow bigger, so keep their waterer full and clean at all times.
Shelter matters too, since a stressed or cold chicken won’t grow as well as a comfortable one. A simple, sturdy coop with enough space to move around is all you really need to get started.
Brief: How to Raise Chickens for Meat?
Raising chickens for meat starts with picking the right breed, like Cornish Cross for speed or Bresse for flavor, then setting up a safe coop with proper space and predator proofing.
From there, it’s about feeding for muscle growth through each stage, keeping water clean and available, and watching for health issues like leg or heart strain as they grow fast.
Understanding the growth timeline helps you know when birds are ready, usually 6 to 20 weeks depending on breed, before moving into processing day with the right supplies and humane handling.
Once processed, proper storage through resting, wrapping, and freezing keeps the meat safe and tasting good for months.
1. Choosing the Right Breed for Meat
Not all chickens grow the same way, so picking the right breed matters if you’re raising them for meat. Some breeds grow fast and put on muscle quickly, while others take their time and stay leaner.
If you want quicker results, pick a breed built for meat, or go dual purpose if you don’t mind waiting a bit longer for both meat and eggs.
Cornish Cross
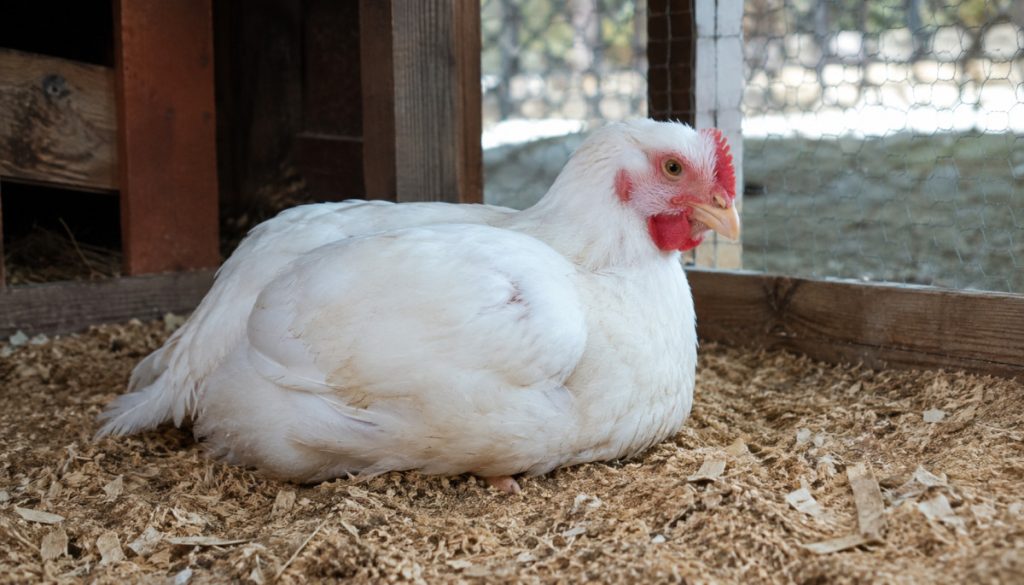
If speed is what you’re after, this breed is hard to beat. Cornish Cross chickens grow fast and can be ready for processing in just 6 to 8 weeks.
Cornish Cross birds have a huge appetite and gain weight quickly, often reaching 8 to 10 pounds by the time they’re ready.
Because they grow so fast, they can develop leg or heart problems if they’re overfed or don’t get enough exercise, so many raisers limit their feed slightly and give them room to move.
This breed is a favorite among commercial farms and backyard raisers alike because it gives the most meat in the shortest amount of time.
Check this: How to Deworm Chickens Naturally?
Freedom Ranger
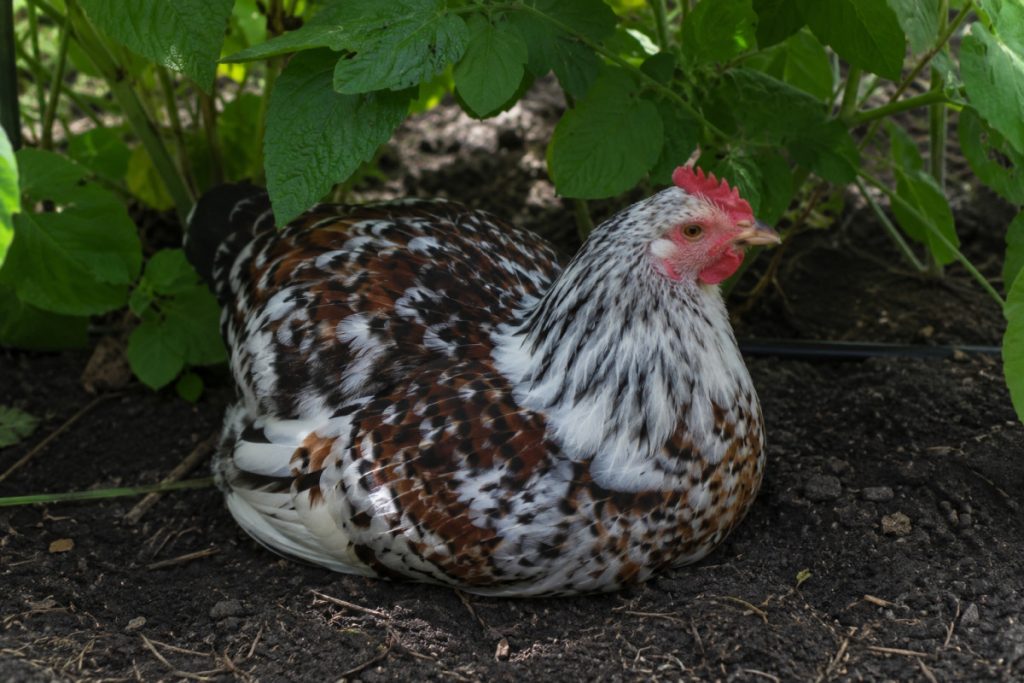
This breed grows slower than Cornish Cross, usually taking 9 to 11 weeks. It’s a solid pick if you want birds that can forage and roam more freely.
Freedom Rangers are tougher and more active, thriving in pasture setups where they hunt for bugs and greens all day.
That active lifestyle often gives the meat a firmer bite and richer flavor. They also shrug off common health issues more easily, making them forgiving for beginners still learning the ropes.
Bresse
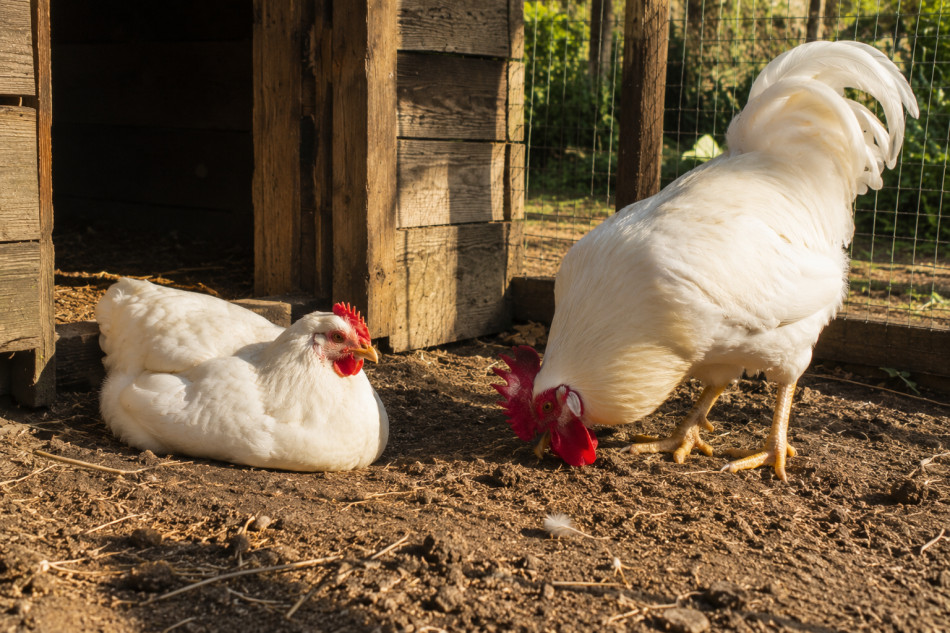
Known for its rich, flavorful meat, this French breed takes around 20 weeks to mature. It’s a great pick if quality matters more to you than speed.
Bresse chickens are prized in the culinary world, often considered one of the best tasting meat breeds around.
Their slow growth leads to well marbled meat with a taste many describe as more complex than standard broilers, though they can be harder to find and raise.
Dual Purpose Breeds
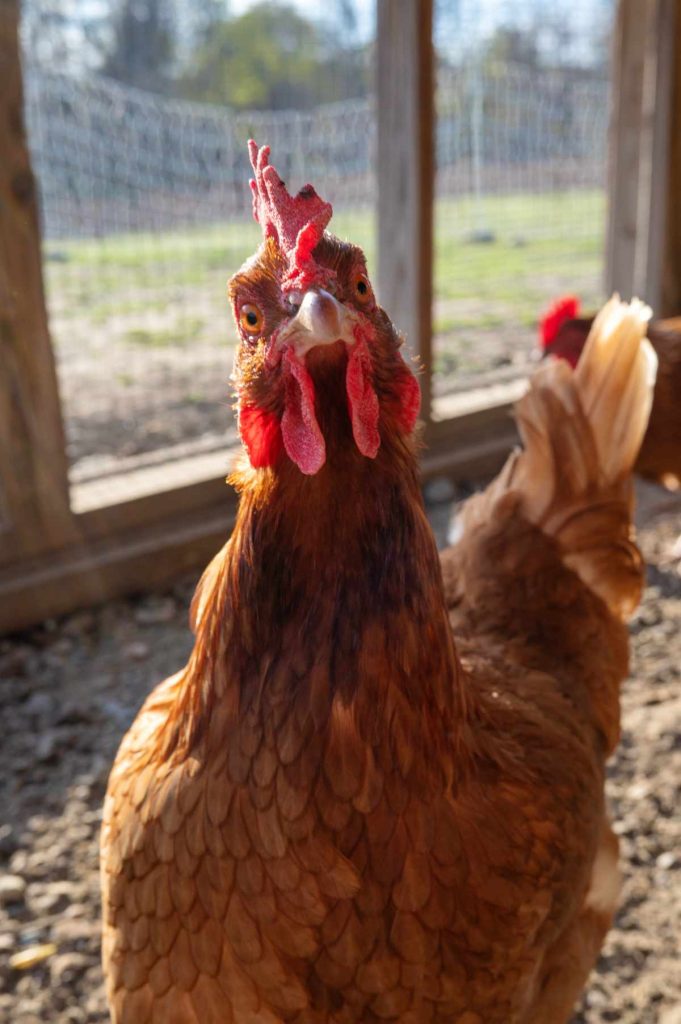
Breeds like Rhode Island Red or Plymouth Rock give you both eggs and meat. They grow slower than dedicated meat breeds, but offer more value from your flock.
These birds are tougher and better suited to free ranging, handling weather changes and minor health issues with ease.
Since they take longer to reach a good meat size, usually 16 to 20 weeks, many raisers keep them around to lay eggs first before eventually processing them.
2. How to Setup Your Chicken Coop and Space?
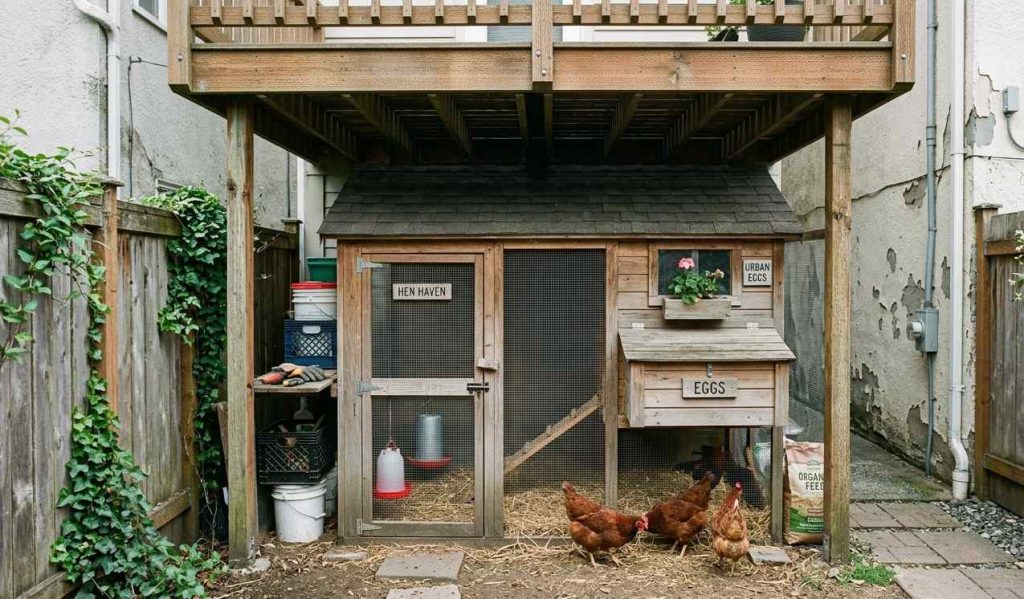
Before your chicks even arrive, get the coop ready. I learned this the hard way when I brought home chicks with nowhere solid to put them, and spent the first night scrambling to patch together a box in the garage.
Space Requirements
Give each meat bird about 2 to 3 square feet inside the coop. If they’ll spend time outside too, aim for at least 8 to 10 square feet per bird in the run.
Crowded chickens grow slower and get stressed more easily. Mine started pecking at each other within days when I packed too many into a small space, so don’t skimp here if you can help it.
Coop vs. Tractor Setup
A standard coop works fine if your birds will stay put. But if you want them foraging on fresh grass, a chicken tractor is worth considering.
A tractor is a movable coop you shift to new grass every day or two. This gives your birds fresh ground to peck at while keeping them protected.
Predator Proofing
Meat birds are slower and less alert than egg layers, so they need extra protection. Use half-inch hardware cloth instead of regular chicken wire, since raccoons can tear straight through the thin stuff.
Bury the wire a few inches into the ground around the coop’s perimeter. This stops predators from digging underneath and getting inside, something I didn’t think about until I found claw marks near my coop’s base one morning.
Lock up your birds at night, since most predator attacks happen after dark. A simple latch that raccoons can’t figure out goes a long way, though don’t underestimate them. Raccoons are smarter with locks than you’d expect.
Also Read: 27 Low Budget DIY Chicken Coop Ideas
3. Feeding for Muscle Growth
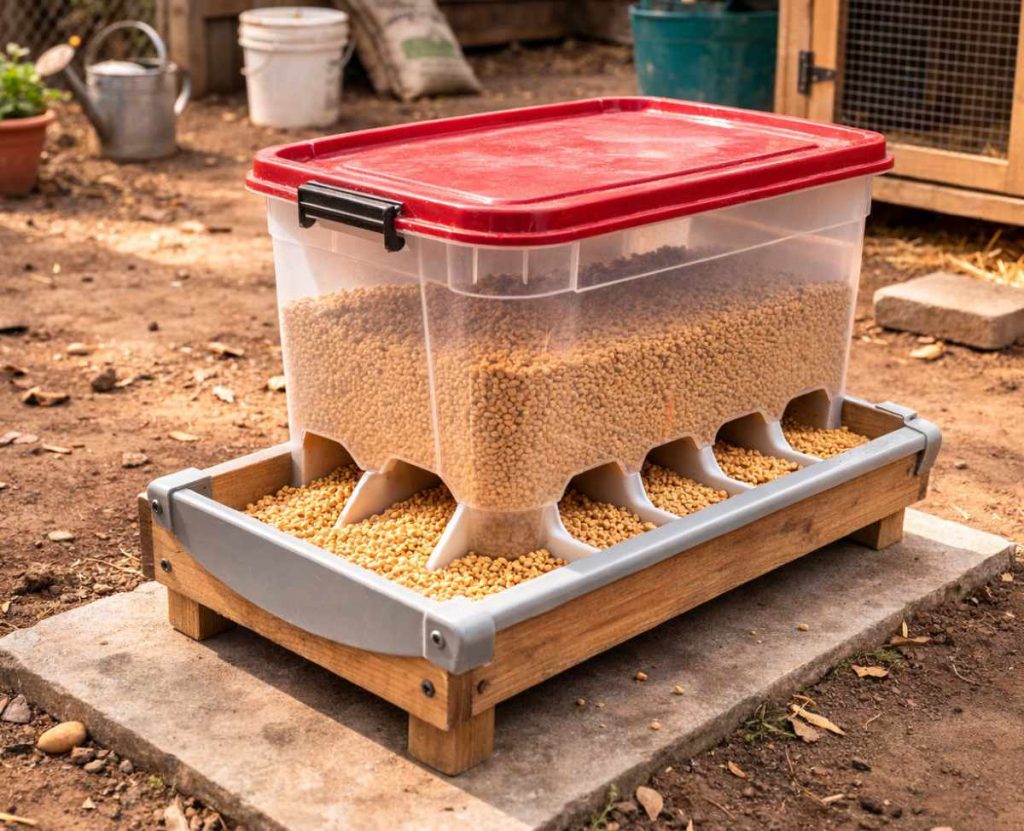
What you feed your birds has the biggest impact on how well they grow. Get this right and you’ll see the difference in size and muscle by the time they’re ready for processing.
Starter Feed for Chicks
Chicks need starter feed for their first few weeks, usually until they’re around 6 to 8 weeks old. This feed runs high in protein, often around 20 to 24 percent, to fuel that early growth spurt.
I switched my last batch too early and noticed they seemed sluggish compared to previous rounds. Sticking to the full starter phase makes a real difference.
Grower and Finisher Feed
Once chicks outgrow starter feed, move them to a grower or finisher feed. This has slightly less protein, usually around 18 to 20 percent, but still enough to keep building muscle as they mature.
Finisher feed usually comes into play in the last couple weeks before processing. Some raisers cut back on protein slightly here since it can help improve the texture of the meat.
Table Scraps and What to Avoid
Kitchen scraps like vegetable peels, leftover greens, or cooked rice can supplement their diet well. Just skip anything salty, sugary, moldy, or heavily processed, since these can make your birds sick.
I also avoid feeding mine avocado skins and pits, onions, and anything with caffeine. These are toxic to chickens even in small amounts.
Feeding Schedule
Meat birds do best with free feeding, meaning food is available all day. Since they’re focused on fast growth, restricting their access too much can slow things down.
That said, Cornish Cross owners sometimes limit feed slightly to prevent overeating, since this breed doesn’t know when to stop. I’ve found a 12 hours on, 12 hours off schedule works well for keeping their growth steady without overdoing it.
Check this: 19 DIY Chicken Dust Bath Container Ideas
4. Water Needs
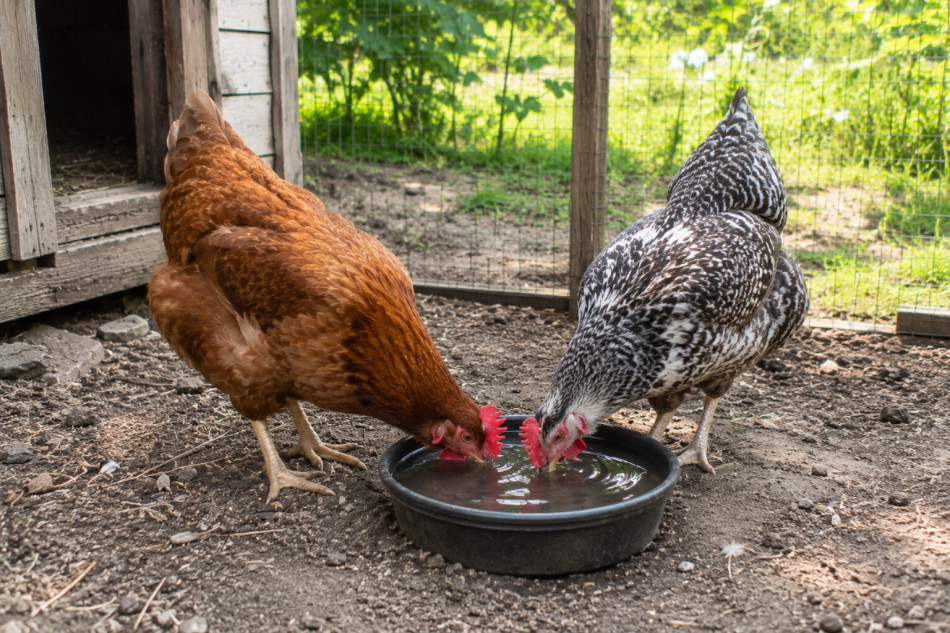
Water might seem simple, but it’s just as important as feed when it comes to raising healthy meat birds. A dehydrated chicken stops eating well, and that slows down growth fast.
Daily Water Requirements
A single adult meat bird can drink close to a pint of water a day, more in hot weather. As they grow bigger, that need only goes up, so keep an eye on how fast the waterer empties.
I underestimated this early on and ran out of water on a hot afternoon. My birds looked noticeably worn out by evening, which taught me to check levels more than once a day.
Waterer Types
A proper poultry waterer beats an open bowl every time. Chickens walk through open bowls and dirty the water fast, which means more refills and a higher risk of bacteria buildup.
Nipple waterers are worth considering too, since they keep the water cleaner and cut down on spillage. I switched to one for my last batch and noticed I was refilling far less often.
Seasonal Water Care
In summer, check water at least twice a day. Heat makes chickens drink more, and water sitting in direct sun can get too warm for them to want it.
In winter, freezing becomes a bigger issue. A heated waterer works best, but if you don’t have one, swapping in fresh water each morning keeps things from icing over completely.
5. Health and Care While Raising

Meat birds grow so fast that health issues can sneak up quickly if you’re not paying attention. A little daily observation goes a long way toward catching problems early.
Common Health Issues in Meat Birds
Cornish Cross birds are especially prone to leg and heart problems because of how fast they gain weight. I lost a bird once to what I later learned was flip syndrome, where the heart just couldn’t keep up with the rapid growth. Watch for:
- Limping or reluctance to stand
- Labored or heavy breathing
- Swollen or red joints
- Sudden lethargy or collapse
Signs of a Healthy vs. Sick Chicken
I do a quick walk through the coop every morning just to eyeball the flock. Catching a droopy or isolated bird early has saved me more than once from a bigger problem spreading.
A healthy chicken usually shows:
- Bright, alert eyes
- Smooth, clean feathers
- Active movement and normal appetite
A sick chicken tends to show:
- Hunched posture
- Isolation from the flock
- Loss of appetite or thirst
Basic Biosecurity Tips
Clean, careful habits go a long way in keeping your flock healthy. A few things that help:
- Keep new birds separated for at least two weeks before introducing them
- Clean the coop and waterers regularly to prevent bacteria buildup
- Keep a dedicated pair of shoes for coop chores to avoid tracking in outside contaminants
- Watch for damp or dirty bedding, since it attracts parasites
Also Read: 16 Chicken Coop Interior Ideas
6. Growth Timeline: What to Expect
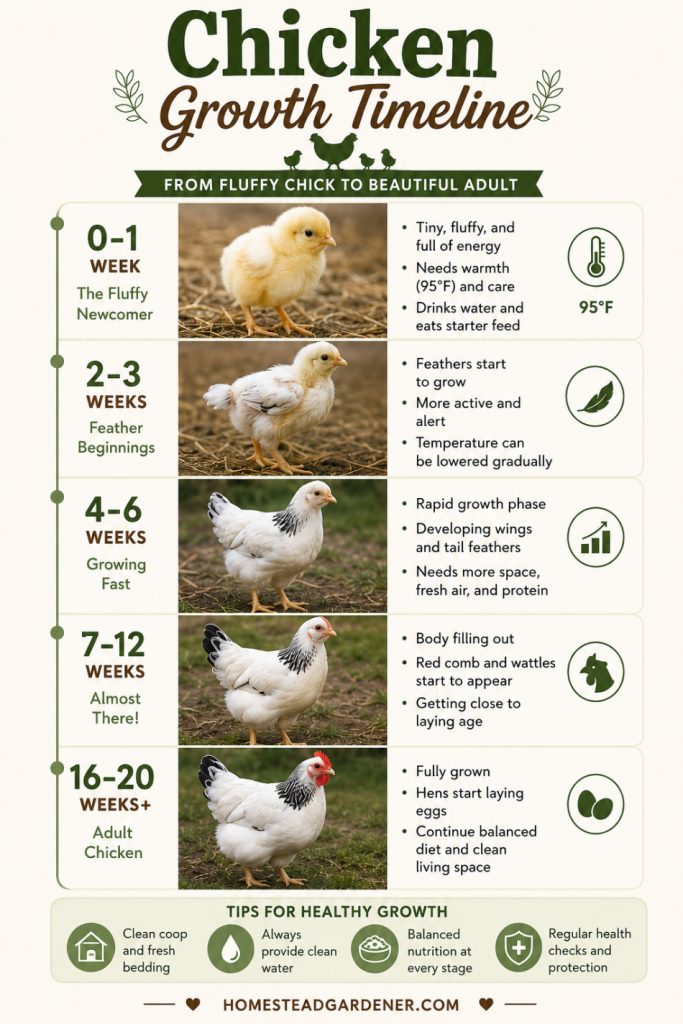
Knowing what’s normal at each stage helps you catch problems early and plan for processing day. Growth speed varies a lot by breed, so use this as a general guide rather than a strict rule.
Week 1 to 2
Chicks are tiny and fragile during this stage, relying on the brooder for warmth since they can’t regulate their own body temperature yet. I keep the brooder at 95°F for the first week and drop it by about 5 degrees each week after.
- Rapid feather growth begins
- Chicks eat and drink frequently
- Weight gain is slow but steady
Week 3 to 5
This is when growth really picks up, especially for Cornish Cross birds. I moved my last batch out of the brooder and into the coop around week 4, once they had enough feathers to handle the temperature.
- Feathers fill in fully
- Birds start looking more like adult chickens
- Appetite increases noticeably
Week 6 to 8
Cornish Cross birds are often ready for processing by the end of this window, usually hitting 5 to 7 pounds. Slower breeds like Freedom Rangers are still a few weeks out at this point.
- Muscle mass builds quickly
- Legs may need extra support if growth outpaces bone strength
- Watch closely for signs of leg or heart strain
Week 9 and Beyond
This stage mostly applies to slower growing breeds like Freedom Rangers or Bresse. I’ve found the wait pays off in flavor and texture, even if it tests your patience.
- Freedom Rangers typically reach processing weight around week 9 to 11
- Bresse chickens take the longest, often around week 20
- Dual purpose breeds fall somewhere in between, usually 16 to 20 weeks
7. Processing Day Basics
Processing day takes some preparation, both mentally and practically. Having everything ready ahead of time makes the process smoother and more humane for the birds.
What You Need Before You Start?
I always lay everything out the night before, since scrambling for supplies mid process only adds stress for you and the birds. A basic setup includes:
- A sharp, dedicated knife
- Killing cones to keep birds calm and still
- A large pot for scalding water, kept around 145 to 150°F
- A plucker or clean space for hand plucking
- Coolers with ice for chilling the meat afterward
Humane Handling
Keeping birds calm before processing makes a real difference, both for them and for the quality of the meat. Stressed birds release adrenaline that can toughen the meat and affect flavor.
I withhold food for about 8 to 12 hours before processing, though water stays available the whole time. This empties their digestive system and makes the process cleaner.
Move birds slowly and avoid loud noises or chasing, since panic right before processing does more harm than people realize.
Basic Steps Overview
This isn’t a full how to, but here’s the general flow so you know what to expect:
- Place the bird in a killing cone to keep it calm and still
- Process quickly and humanely
- Scald the bird briefly to loosen feathers
- Pluck feathers by hand or machine
- Eviscerate and clean the bird thoroughly
- Chill the meat immediately in ice water
If you’re new to this part, it’s worth watching an experienced processor first or working alongside someone who’s done it before. I’d also recommend checking a dedicated processing guide for full step by step detail, since doing it right matters both for food safety and for the bird.
8. Storing and Using Your Meat
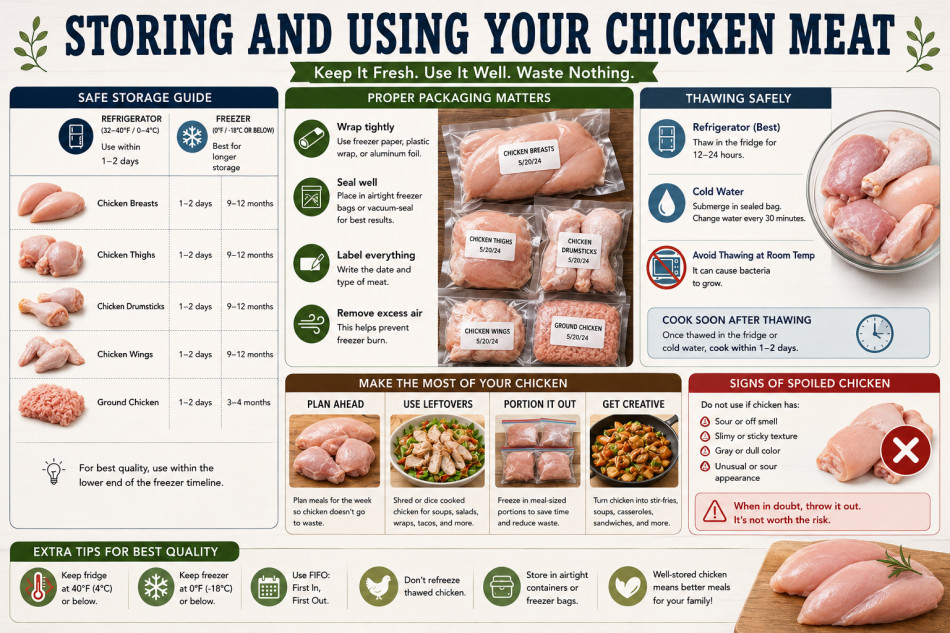
Once your birds are processed, how you handle the meat next matters just as much as everything before it. Proper storage keeps it safe to eat and tasting good for months.
Fresh vs. Freezing
I usually rest the meat in the fridge for a day or two before freezing, since this improves tenderness. Fresh birds can be a little tough right after processing, and that short resting period makes a noticeable difference.
- Fresh meat should be used within 1 to 2 days if not frozen
- Resting in the fridge (below 40°F) helps relax the muscles
- Freezing right away is fine too, just expect a slightly firmer texture
Freezing and Storage Tips
Wrapping matters more than people expect. I lost a batch to freezer burn early on because I didn’t wrap tightly enough, and that’s a mistake I don’t repeat anymore.
- Use vacuum sealing if you have access to it, since it keeps out air completely
- Double wrap with freezer paper or heavy duty bags if vacuum sealing isn’t an option
- Label each package with the date so you can track freshness
- Store at 0°F or below for best quality
How Long It Lasts?
Frozen chicken stays safe indefinitely, but quality drops over time. For best taste and texture:
- Whole birds keep well for up to 12 months
- Cut pieces are best used within 9 months
- Ground or processed meat holds up for about 3 to 4 months
I try to use mine within 6 months just to be safe, even though it technically lasts longer. That way I know I’m working with the best quality, not just something that’s still edible.
Conclusion
Raising chickens for meat comes down to getting the basics right: good feed, clean water, a safe coop, and paying attention to your birds along the way. None of it is complicated, but it does take consistency.
I still remember how overwhelmed I felt with my first batch, second guessing every little decision. A few flocks in, it becomes second nature, and you start noticing things like a bird’s mood or appetite without even trying.
Whether you’re doing this for a freezer full of meat or just want to try something new, starting small and learning as you go is the best way in. Pick a breed that fits your timeline, set up a coop that keeps them safe, and the rest will fall into place with a little patience.


Khaja Moinuddin, a computer science graduate, finds joy in gardening and homesteading. Join him on this blog as he shares his experiences in homesteading, gardening, and composting