Making homemade strawberry preserves is more fascinating than buying a jar from the store. All you need to make your own is a pot of ripe berries, some sugar, and a little time.
You watch the berries turn soft and shiny, and your kitchen fills with a wonderful smell. When you fill the jars, you know you made it yourself.
Homemade preserves also give you control over what goes in.
You pick the berries, choose how much sugar to use, and leave out artificial colors and preservatives.
If you store them in clean, sealed jars, they stay fresh for months, so you can enjoy strawberries long after the season is over.
Quick Strawberry Preserves Recipe
This is a short and quick recipe, below is a detailed writeup.
Makes: about 3 half-pint (250 ml) jars
Time: about 45 minutes
Ingredients
- 2 lb (900 g) fresh strawberries, washed, hulled, and chopped
- 1½ cups (300 g) sugar
- 2 tablespoons lemon juice
Steps
- Mix the strawberries, sugar, and lemon juice in a large pot. Let them sit for 30 minutes so the berries release their juice.
- Heat on medium, stirring until the sugar dissolves. Bring to a rolling boil.
- Cook for 15 to 20 minutes, stirring often and skimming off any foam, until the mixture thickens.
- Test it: drop a spoonful onto a cold plate. If it wrinkles when you push it with your finger, it’s ready.
- Ladle the hot preserves into clean, sterilized jars, leaving ¼ inch (6 mm) of space at the top. Wipe the rims and seal with lids.
- Process the jars in boiling water for 10 minutes, then let them cool. Store sealed jars in a cool, dark place. Once opened, keep them in the fridge.
What Is Strawberry Preserves, and How Is It Different from Jam or Jelly?
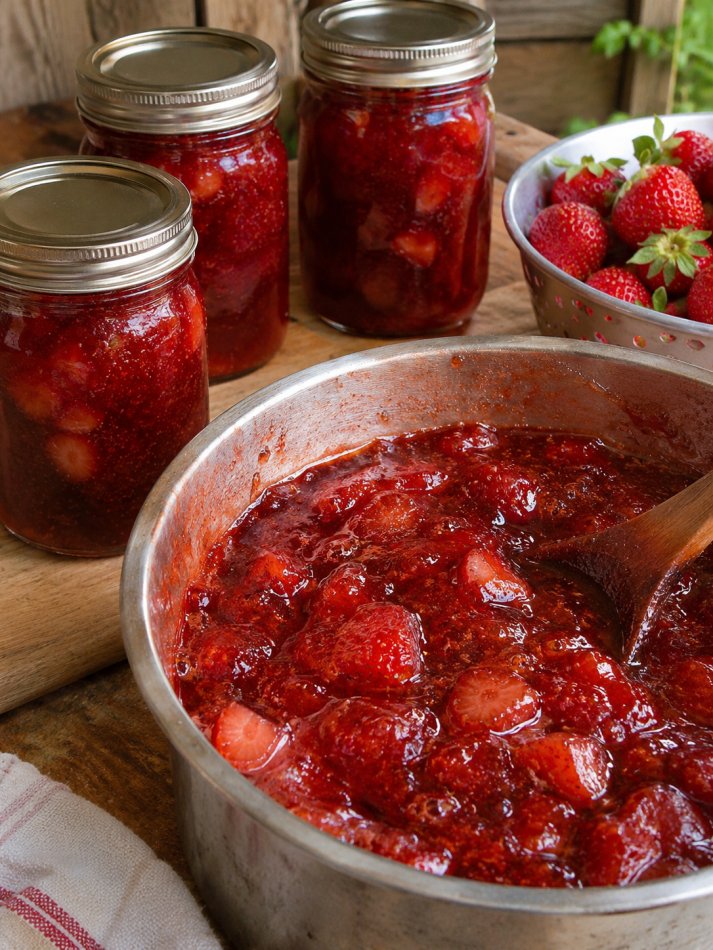
Strawberry preserves are made by cooking strawberries, whole or in large pieces, with sugar until the fruit sits in a thick, glossy syrup. The goal is to keep the fruit recognizable, so every spoonful has real chunks of berry in it.
Jam, jelly, and preserves all use fruit, sugar, and heat, but the texture is what sets them apart:
- Preserves: Whole berries or big pieces in a soft gel or syrup. Chunky and fruit-forward.
- Jam: Crushed or finely chopped fruit cooked into a thick, spreadable mixture. Softer and more uniform.
- Jelly: Made from strained fruit juice only, so it is clear, smooth, and firm, with no fruit pieces.
If you like to see and taste the fruit, preserves are the one to make. They work well on toast, scones, and yogurt, and as a filling for pastries.
How to Make Strawberry Preserves from Fresh Strawberries?
Making strawberry preserves comes down to three things: fruit, sugar, and acid. The sugar draws juice out of the berries and helps the mixture set, and the lemon juice brightens the flavor and helps the gel form.
Strawberries are naturally low in pectin, the substance that thickens jam, so patience and a good cooking time matter more than any shortcut. The process is simple, and the whole thing takes about 45 minutes of hands-on time, plus resting time for the berries.
What You’ll Need
- 2 lb (900 g) fresh strawberries
- 1½ cups (300 g) sugar
- 2 tablespoons lemon juice
- A large, wide, heavy-bottomed pot (a wide pot helps the water evaporate faster)
- 3 half-pint (250 ml) canning jars with new lids and bands
- A large pot with a rack for water-bath canning
- A jar lifter, ladle, and funnel
- A small plate kept in the freezer for the set test
Check this: How to Can Fresh Tomatoes the Right Way in Easy Steps?
Step 1: Prepare the Strawberries
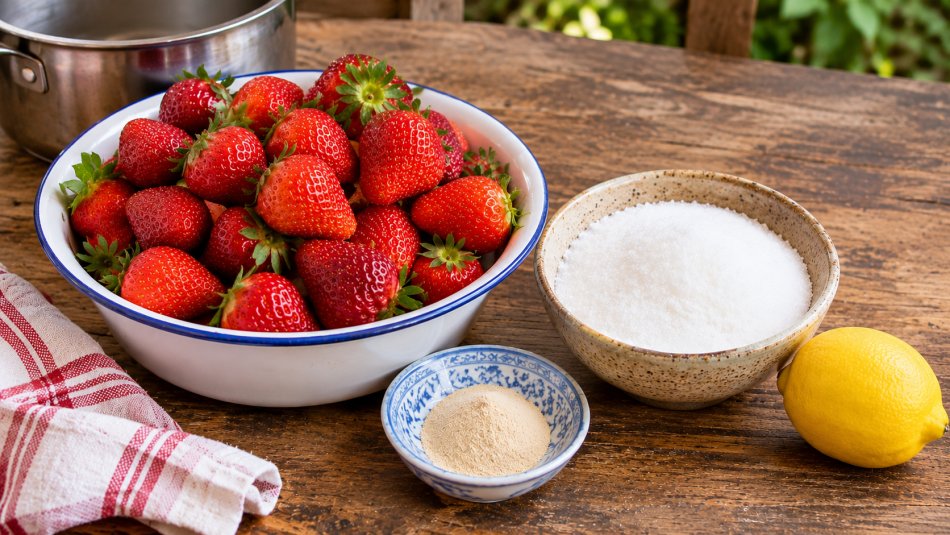
Choose ripe, firm, bright red berries. Slightly under-ripe berries have more natural pectin, so a mix of fully ripe and just-ripe berries gives the best set. Avoid mushy or moldy fruit.
Rinse the berries under cool running water and pat them dry. Do not soak them, because they absorb water and lose flavor.
Remove the green hulls, then cut the berries in halves or quarters. Keep the pieces fairly large, since the chunks are what make these preserves.
Step 2: Macerate with Sugar and Lemon Juice
Put the berries in the large pot and add the sugar and lemon juice. Stir gently, then let the mixture rest for 30 minutes.
During this time the sugar pulls juice out of the berries and forms a syrup. This step helps the fruit hold its shape later, because the berries firm up slightly in the sugar instead of falling apart in the heat.
While the berries rest, wash your jars and lids in hot, soapy water and get your canning pot ready (see Step 5).
Step 3: Heat and Dissolve the Sugar
Place the pot over medium heat. Stir gently and often until all the sugar has dissolved. You should no longer feel gritty sugar crystals on the bottom of the pot.
Then raise the heat and bring the mixture to a full rolling boil, one that keeps bubbling even when you stir it.
Also Read: How to Store Potatoes After Harvest?
Step 4: Cook Until Thickened and Test the Set
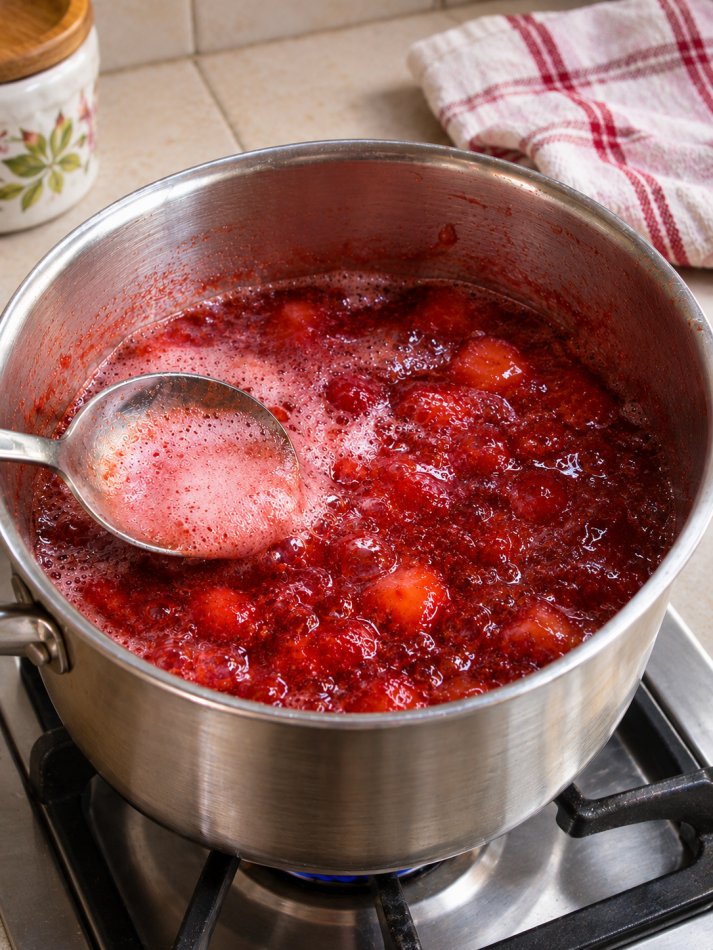
Cook at a steady boil for 15 to 20 minutes, stirring often so nothing sticks or scorches. Use a spoon to skim off the foam that rises to the top. Skimming is not strictly necessary, but it gives you clearer, better-looking preserves.
The mixture will darken slightly, the bubbles will get smaller and slower, and the syrup will look thicker and glossier.
To test the set, use the cold plate method:
- Turn off the heat so the mixture does not overcook while you test.
- Put a small spoonful of the hot preserves on the cold plate from the freezer.
- Wait about 1 minute, then push it with your finger.
- If the surface wrinkles and the preserves hold a path when you drag your finger through them, they are ready. If they are runny, turn the heat back on and cook for another 3 to 5 minutes, then test again.
Step 5: Fill the Jars
Sterilize the jars by boiling them in the canning pot for 10 minutes, or by running them through a hot dishwasher cycle. Keep the jars hot until you fill them, because pouring hot preserves into cold jars can crack the glass.
Use the funnel and ladle to fill the jars with hot preserves, leaving ¼ inch (6 mm) of headspace at the top. Slide a clean butter knife or wooden skewer around the inside of each jar to release air bubbles.
Wipe the rims with a damp, clean cloth so no sticky residue gets in the way of the seal, then put on the lids and tighten the bands until just fingertip tight.
Step 6: Process in a Boiling Water Bath
Lower the filled jars into the canning pot using the jar lifter. The water should cover the jars by at least 1 inch (2.5 cm).
Bring the water to a full boil, then process the jars for 10 minutes. If you live at higher elevation, add 5 minutes for 1,001 to 6,000 feet (305 to 1,830 m) above sea level.
Turn off the heat, let the jars sit in the water for 5 minutes, then lift them out and place them on a towel. Leave them undisturbed for 12 to 24 hours. You may hear the lids make a soft “pop” as they seal.
Step 7: Check the Seals and Store
After 24 hours, press the center of each lid. A sealed lid does not flex or click. Any jar that did not seal should go into the fridge and be eaten first. Label the sealed jars with the date and store them in a cool, dark place.
Check this: How to Pickle Cucumbers with Vinegar and Sugar?
Tips for Perfect Strawberry Preserves
- Use a wide pot. More surface area means faster evaporation and a shorter cooking time, which keeps the berries from turning mushy.
- Don’t double the batch. Large batches take longer to set and can overcook the fruit. Make two small batches instead.
- Use fresh lemon juice. It gives a brighter flavor and a more reliable set than most bottled juice.
- Don’t cut the sugar too much. Sugar helps with the set and also helps preserve the color and shelf life. If you want less sugar, expect a softer set and store the jars in the fridge.
- Stir often, especially near the end. The thicker the mixture gets, the easier it is to scorch.
- Skim the foam, but save it. The foam is perfectly good to eat on toast.
- Let the preserves rest. They keep thickening as they cool, so give them a full day before deciding they are too runny.
- Always use new lids. Old lids may not seal properly.
Common Problems and How to Fix Them?
My preserves are too runny. The mixture was likely undercooked. Pour the preserves back into a pot, bring them to a boil, and cook for 5 to 10 more minutes, testing again on the cold plate. Use new jars or re-sterilize and re-process with new lids.
My preserves are too firm or sticky. They were overcooked. Next time, test the set earlier. You can stir in a spoonful of warm water to loosen a jar you plan to eat right away.
The berries floated to the top. This happens when the fruit is not evenly mixed in the syrup. Letting the berries rest in sugar (Step 2) and stirring the preserves for a few minutes before filling the jars helps keep them evenly spread.
My preserves turned dark. Overcooking, old fruit, or storing jars in a warm, bright place can darken the color. Cook for the shortest time that gives a set and store the jars in a dark cupboard.
Sugar crystals formed. The sugar may not have fully dissolved before boiling. Stir over medium heat until you can no longer feel grit before raising the heat.
How to Store Strawberry Preserves?
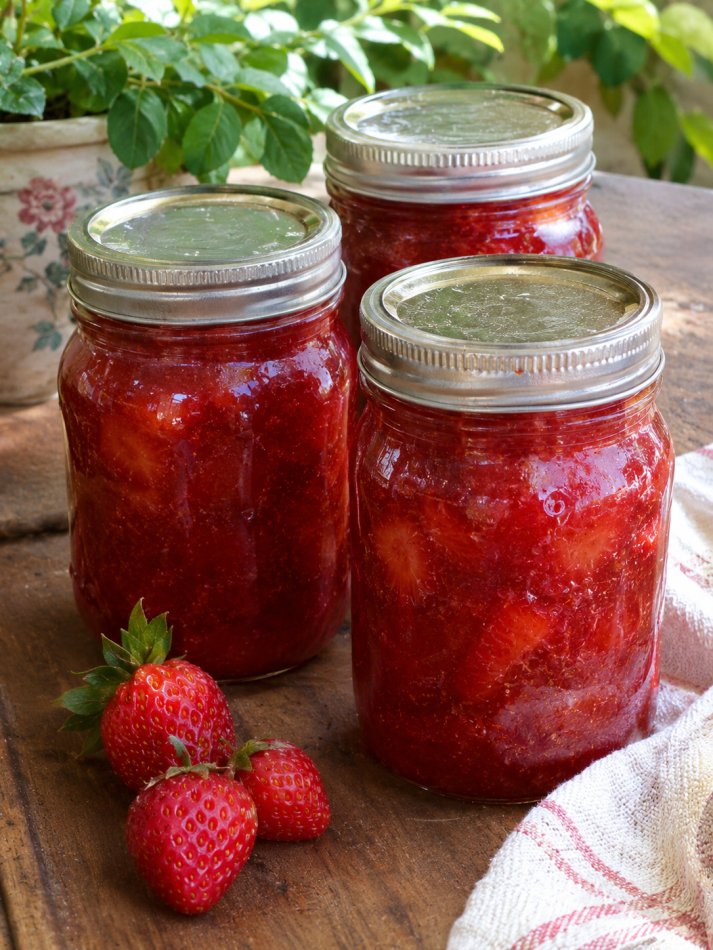
Unopened, properly sealed jars keep for up to 12 months in a cool, dark, dry place such as a pantry or cupboard.
Once opened, keep the jar in the fridge and use it within 3 to 4 weeks. If you see mold, a fermented smell, or bulging lids, throw the jar away without tasting it.
If you skip the water-bath step, treat the preserves as refrigerator preserves. They will keep for about 2 to 3 weeks in a clean, airtight jar in the fridge.
Ways to Use Strawberry Preserves
- Spread on toast, bagels, or fresh biscuits
- Swirl into plain yogurt, oatmeal, or ice cream
- Serve with cheese and crackers
- Use as a filling for thumbprint cookies, tarts, or cakes
- Warm and spoon over pancakes or waffles
- Give as a homemade gift with a handwritten label
Easy Flavor Variations
- Vanilla strawberry: Add 1 split vanilla bean or 1 teaspoon vanilla extract at the end of cooking.
- Strawberry basil: Stir in 2 tablespoons of finely chopped fresh basil after cooking.
- Strawberry black pepper: Add ¼ teaspoon freshly ground black pepper for a warm, savory note.
- Strawberry rhubarb: Replace half the strawberries with chopped rhubarb.
- Balsamic strawberry: Add 1 tablespoon balsamic vinegar during the last 5 minutes of cooking.
Also Read: How to Can Fresh Green Beans?
Can I use frozen strawberries?
Yes. Thaw them first and include the juice. Frozen berries are softer, so the preserves will be a little less chunky.
Do I need pectin?
No. This recipe sets from the berries’ natural pectin, the sugar, and the lemon juice. Pectin is only needed if you want a much firmer set or a lower-sugar recipe.
Can I skip the water-bath canning?
You can, but then the jars must be refrigerated and eaten within a few weeks.
How many strawberries do I need?
About 2 pounds (900 g) makes three half-pint jars.
Why do my preserves look cloudy?
Cloudiness can come from underripe fruit, too much foam left in the jar, or pressing the fruit too hard while cooking.
Conclusion
Strawberry preserves are one of the easiest things to do at home. With ripe berries, a little sugar and lemon, and some patience at the stove, you get jars of bright, chunky preserves that taste better than most store-bought options.
Once you have made your first batch, try one of the flavor variations and keep a few jars for gifts.


Khaja Moinuddin, a computer science graduate, finds joy in gardening and homesteading. Join him on this blog as he shares his experiences in homesteading, gardening, and composting