Nobody wants their garbage cans to be the first thing people notice in the yard. They’re loud, smelly, and honestly just not a good look.
The good news is you don’t need a big budget or fancy tools to fix that. A few smart storage ideas can hide those cans and clean up your whole outdoor space.
Whether you’re working with a tiny side yard or a wide open lot, there’s a setup here that’ll fit. Some ideas use scrap wood, others repurpose things you already have lying around.
In this list, you’ll find plenty of DIY garbage can storage ideas that are easy to build and even easier to love. Pick the one that fits your yard and get started this weekend.
19 DIY Outdoor Garbage Can Storage Ideas
Garbage cans don’t have to be the eyesore of your yard. A little creativity turns them into something you’d almost forget is even there.
From simple wood screens to clever repurposed finds, these ideas cover every yard size and skill level. Let’s get into them.
1. Wooden Pallet Enclosure
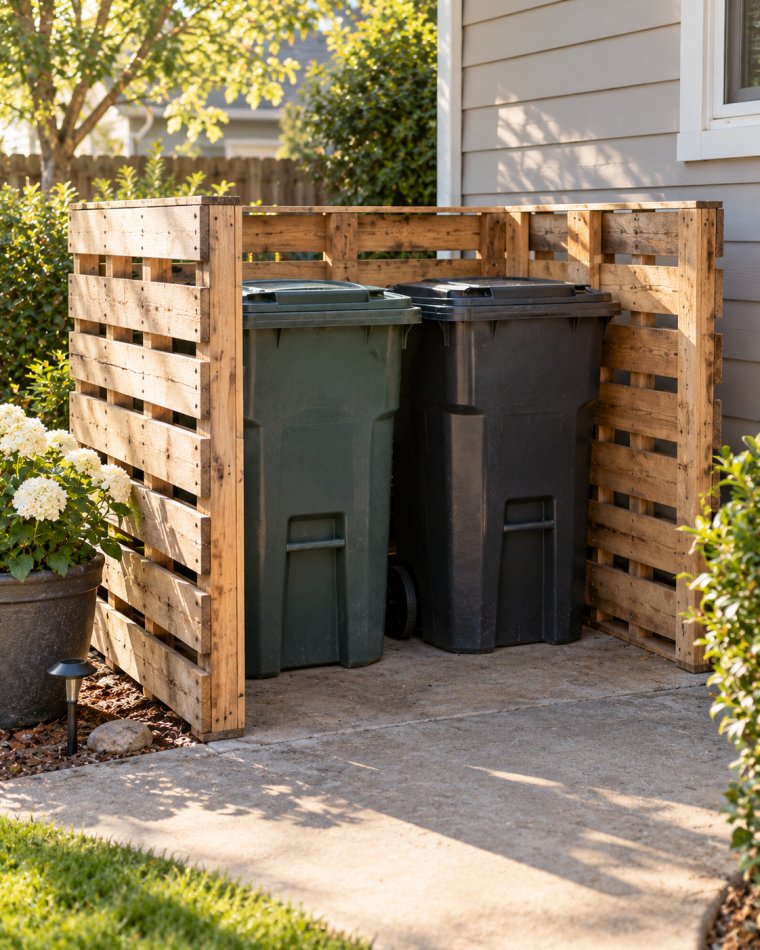
Grab a few old wood pallets and stand them up around your trash cans in a U shape. Nail or screw them together at the corners so they stay sturdy, then leave one side open so you can slide the cans in and out easy.
You can leave the wood natural or paint it a color that matches your house. A coat of outdoor sealant helps it last longer through rain and sun too.
2. Freestanding Slat Fence Screen
This one’s basically a mini fence just for your cans. Cut wood slats to the same height, then attach them to two or three posts so they stand on their own, no digging required if you use a sturdy base.
Leave small gaps between the slats so air can flow through and cut down on smell. It’s a nice option too if you want something that looks a little more finished than plain pallets.
3. Lattice Panel Cover
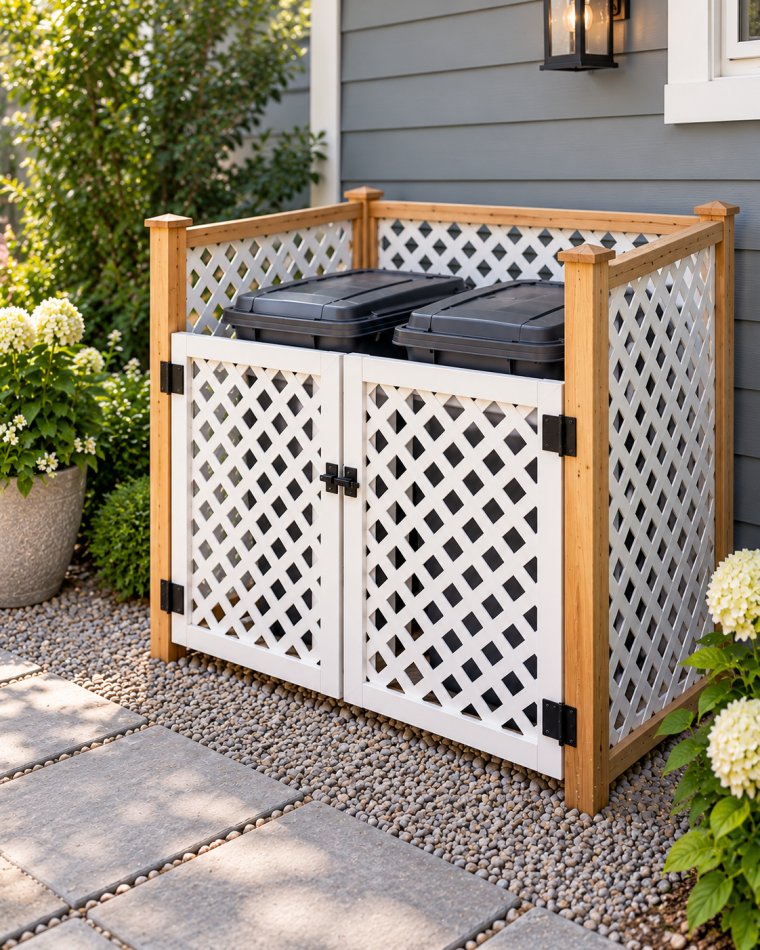
Ever notice how lattice panels show up on porches and garden fences? The same idea works great here. Just build a simple frame out of 2×2 wood and attach pre-made lattice panels to the sides, then add a hinged one for the door.
It’s lightweight, so it won’t be too heavy to move if you ever need to shift it. Plus, the crisscross pattern lets air pass through, which keeps things from getting too stuffy in there.
Also Read: 16 Budget-Friendly Backyard Bird Sanctuary Ideas
4. Corrugated Metal Bin Shed
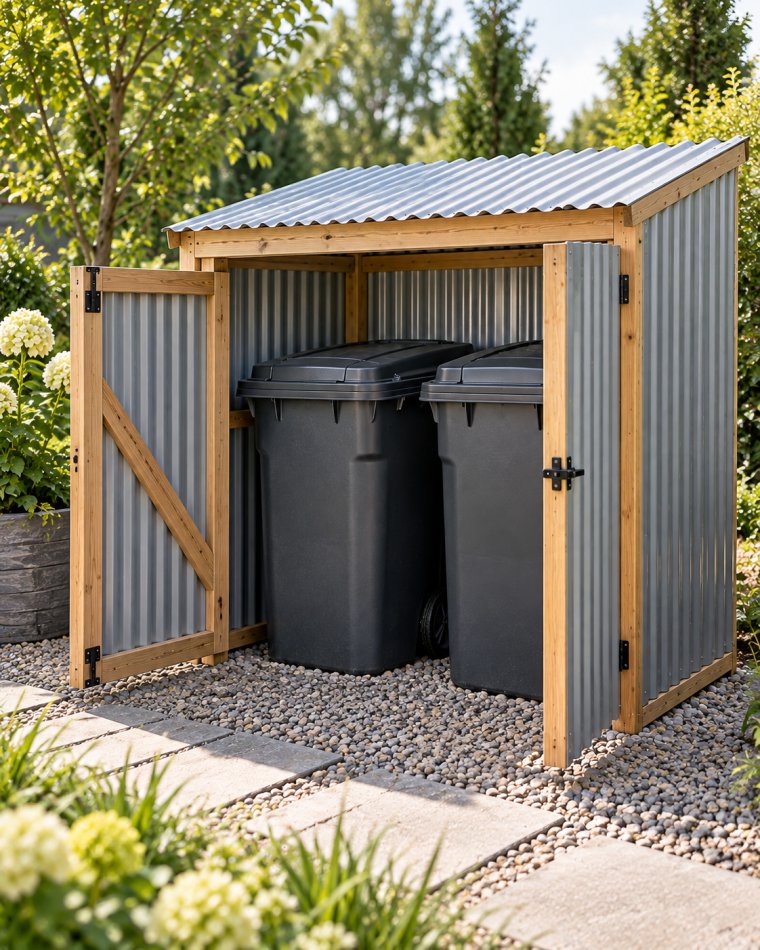
Picture a tiny shed, but way simpler and just for trash cans. Use corrugated metal sheets and screw them onto a basic wood frame, leaving the front open or adding a small door with a latch.
Metal holds up really well against weather, so this one’s great if you get a lot of rain or snow where you live. It also blocks smell better than most wood options.
5. Repurposed Cabinet Storage
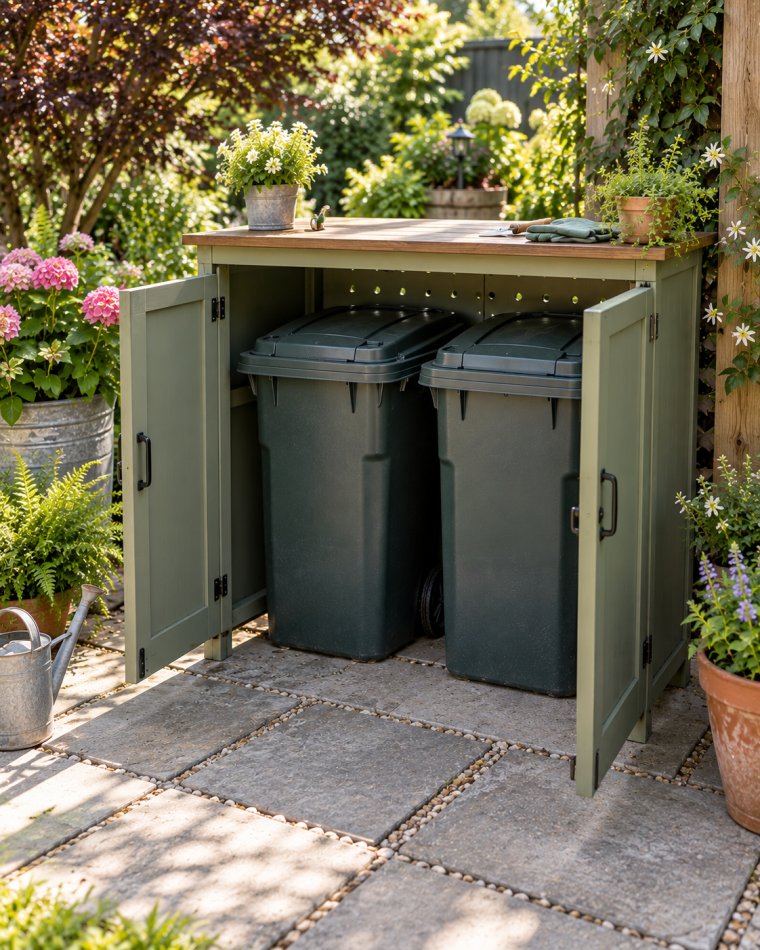
Got an old kitchen cabinet sitting around that you don’t use anymore? Don’t toss it. Cut a hole in the back for airflow, then set it outside where your cans usually sit and slide them right in.
This works best if the cabinet is treated with outdoor paint or sealant first, since regular cabinets aren’t made for rain. It’s an easy way to reuse something instead of buying new materials.
6. Bamboo Privacy Screen Enclosure
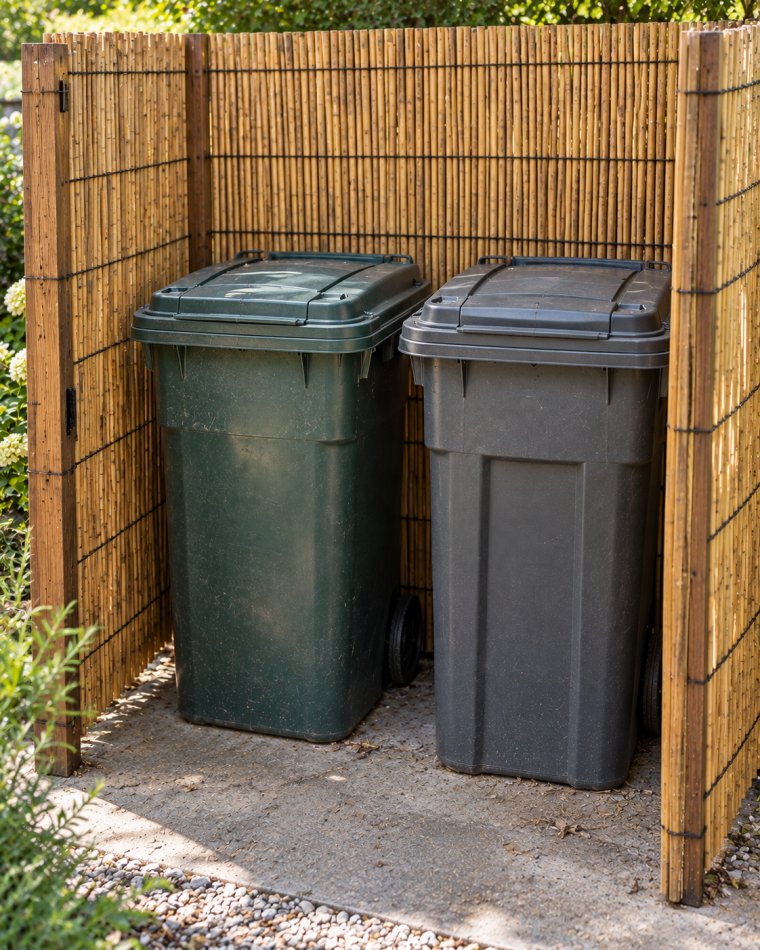
Bamboo screens are cheap, and most hardware stores carry them already rolled up and ready to use. Wrap the screen around a simple wood or metal frame, then zip-tie or staple it into place so it stays tight.
The natural look blends in nicely with plants or garden areas nearby. It’s also one of the lighter options on this list, so moving it around is no big deal.
7. Vertical Garden Wall Cover
Why hide your cans with something plain when you can grow something pretty instead? Build a simple wood frame with a trellis attached, then plant climbing flowers or vines along the base so they grow up and cover the front over time.
Give it a season or two to fill in fully. Once it does, most people won’t even notice the cans are back there.
8. Rolling Cart with Hinged Lid
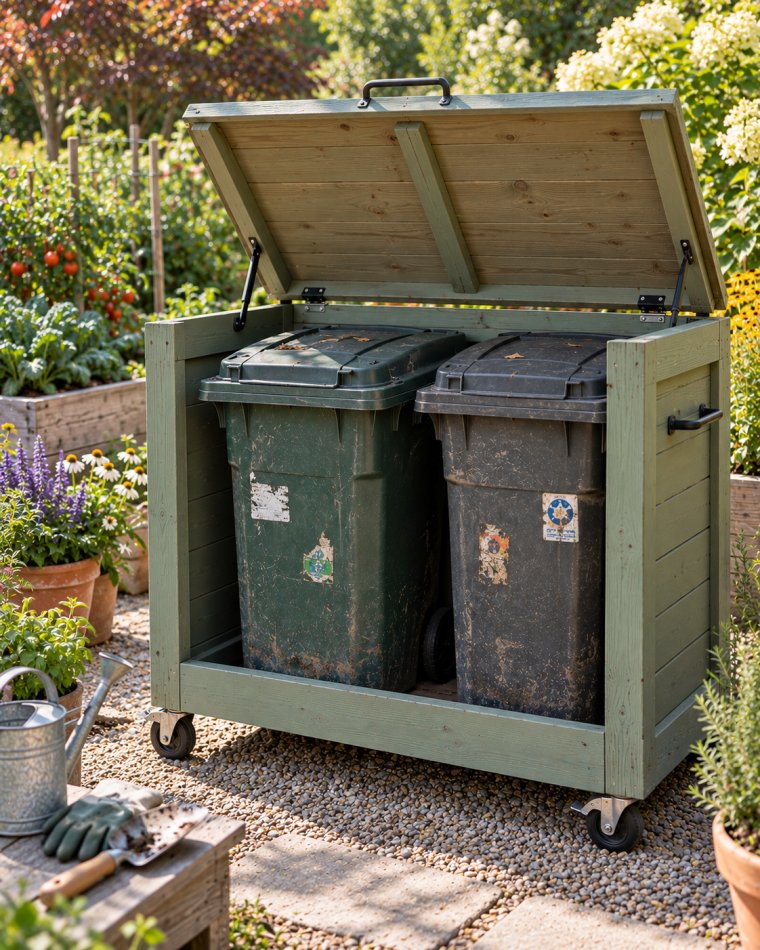
This one skips the whole “enclosure” idea and turns your cans into their own mini cart. Build a low wooden platform with wheels underneath, then add side panels and a hinged lid on top that flips open.
You can wheel the whole thing to the curb on trash day instead of dragging each can separately. It also saves your back if you’ve got a long driveway.
9. Brick and Wood Combo Enclosure
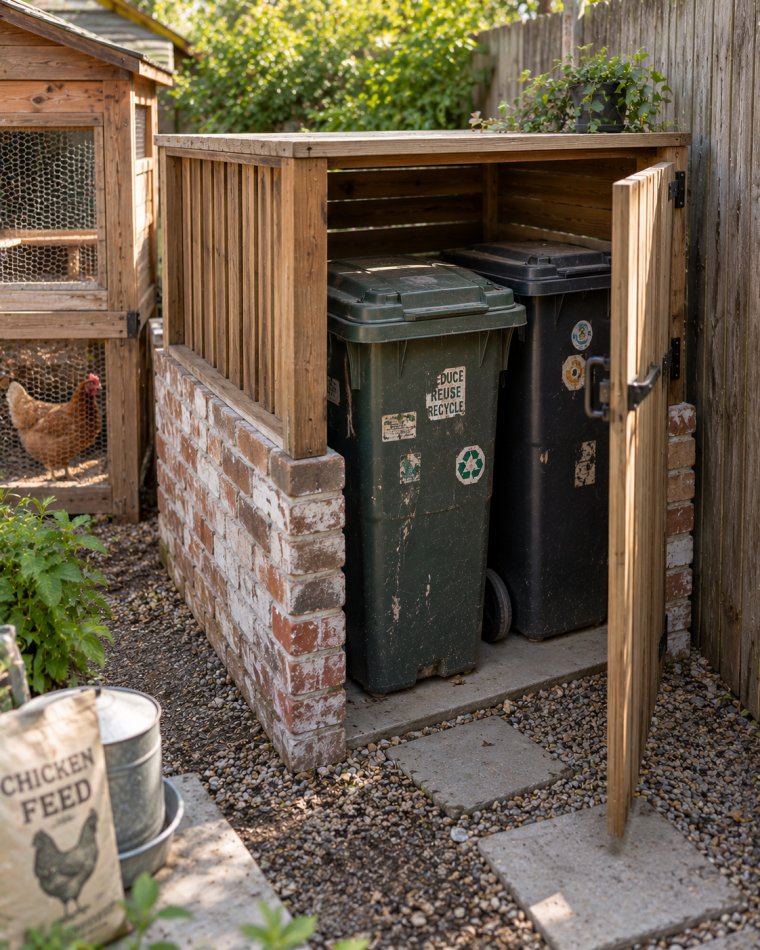
Bricks on the bottom, wood on top, that’s the basic idea here. Stack bricks about two feet high on three sides, then build a simple wood frame above that with a door for access.
The brick base handles moisture way better than wood alone, so the bottom won’t rot as fast. It’s a good pick if your yard tends to stay damp.
10. Vinyl Fence Panel Corral
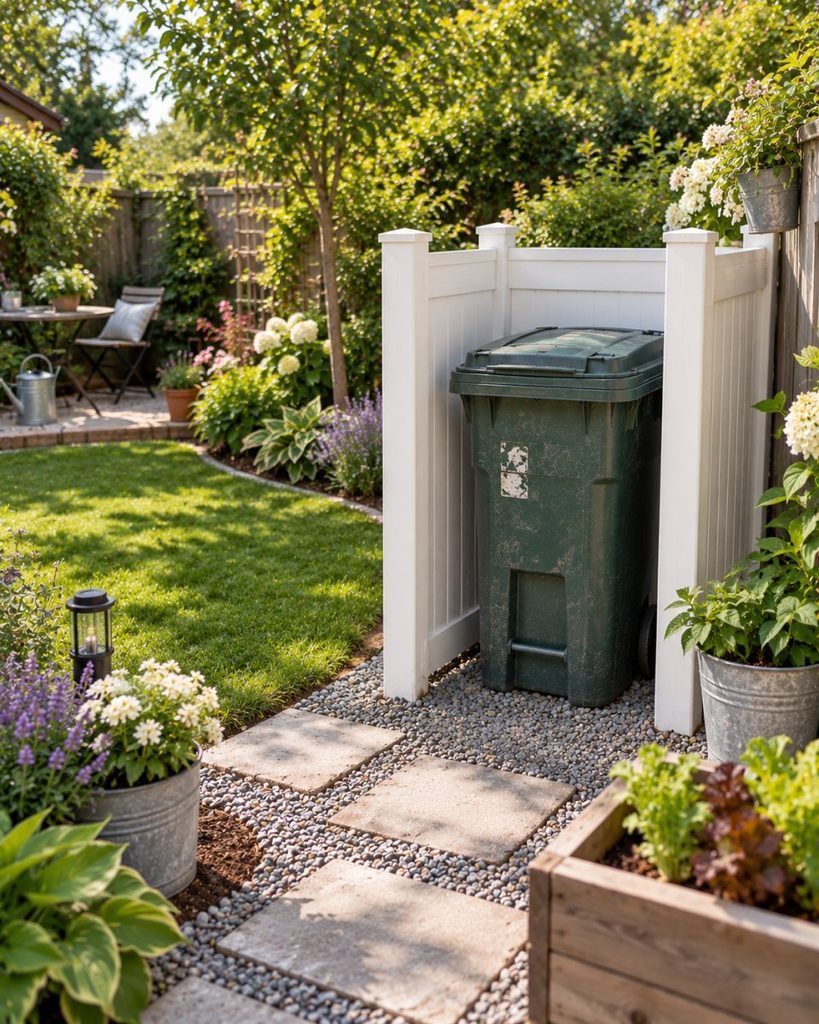
Vinyl fence panels are usually sold in sections at hardware stores, so this one’s more about assembly than building from scratch. Connect a few panels together in a U or square shape around your cans, using the built-in connector pieces most kits include.
Vinyl doesn’t rot, chip, or need repainting, so it’s a low-maintenance option. It’s also easy to hose down if things get messy.
11. Trellis with Climbing Vines
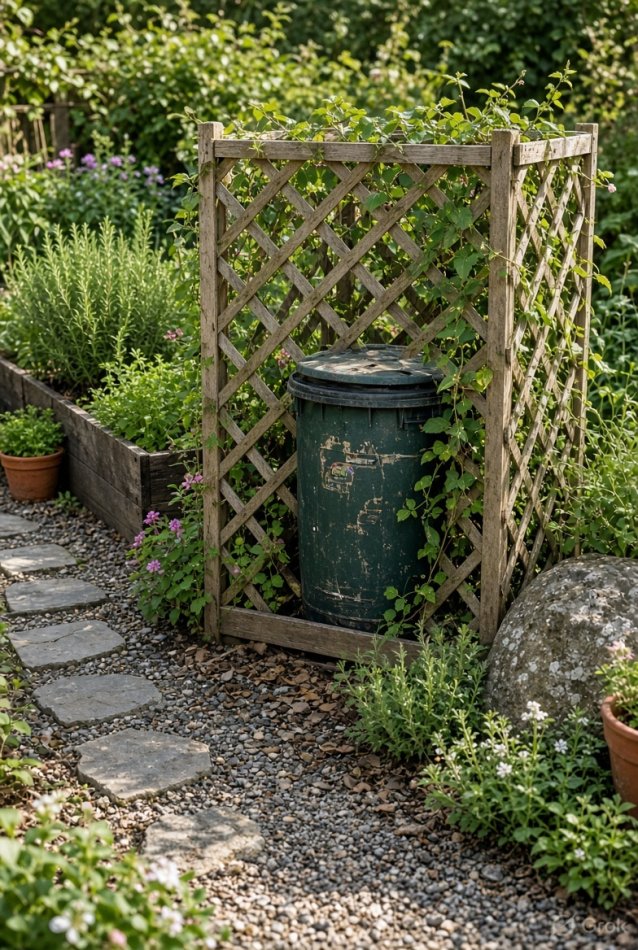
Similar to the vertical garden idea, but simpler. Lean a pre-made trellis panel against a basic frame or fence post near your cans, then plant a fast-growing vine like morning glory at the base.
Within a few weeks, the vine starts climbing and filling in the gaps naturally. It’s one of the cheapest options here since you’re mostly just buying seeds and a trellis.
12. Shipping Pallet A-Frame Cover
Instead of standing pallets up straight, lean two of them together at the top like a tent shape. Screw the top edges together where they meet, then set the whole thing over your cans like a little roof.
Rain slides right off the angled sides instead of pooling on top. It’s also one of the fastest builds on this list since you’re only working with two pieces.
13. Board-and-Batten Storage Box
This style uses wide wood boards with thin strips, called battens, nailed over the seams where the boards meet. Build a basic box frame first, then attach the boards vertically and cover each seam with a batten strip for that classic layered look.
It gives a clean, finished appearance that looks more like a small structure than a hiding spot. Paint it to match your house trim for an even neater finish.
14. Repurposed Shed Conversion
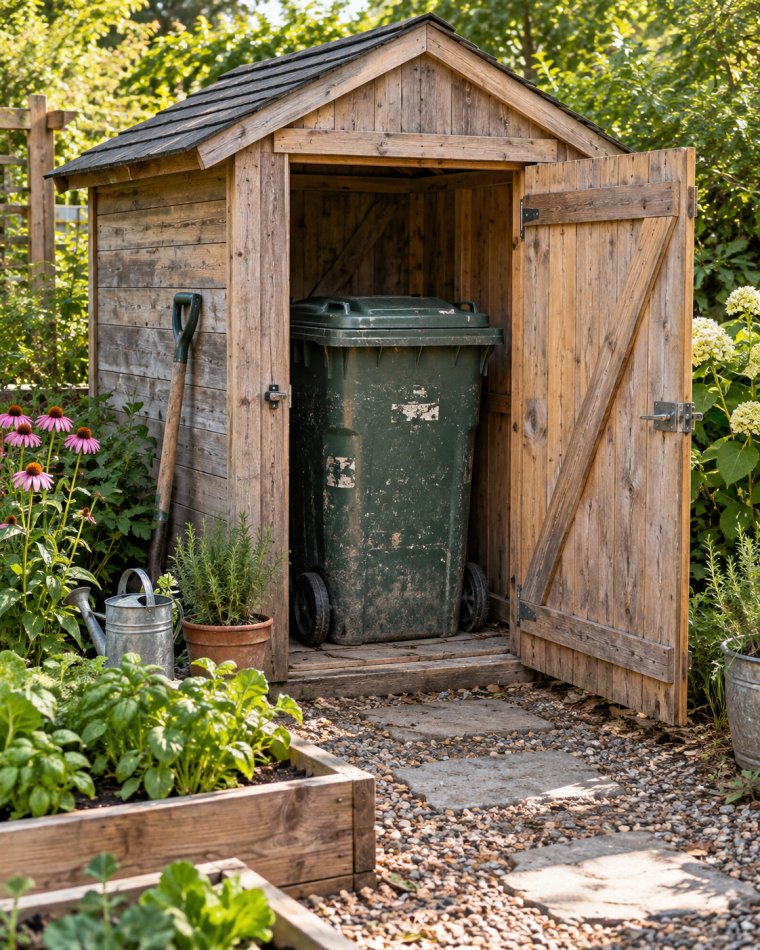
If you’ve got a small shed that’s just collecting junk, clear it out and give your cans a new home instead. Add a few vents near the top so air can move through and cut down on odor buildup.
This works especially well if the shed already has a door with a latch. You get weather protection and pest control without building anything from scratch.
15. Concrete Block Bin Wall
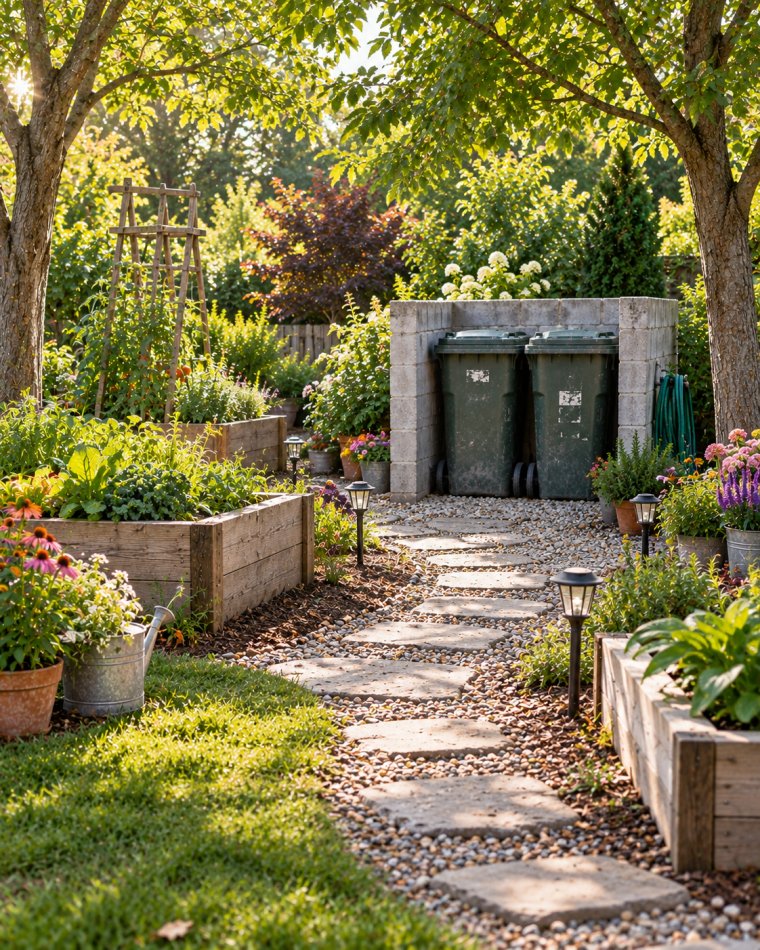
Stack concrete blocks in an L or U shape around your cans, about three or four rows high. No mortar needed if you just want something simple, though stacking them with a bit of construction adhesive keeps everything steady.
This option is basically indestructible once it’s up. Wind, rain, and rough weather won’t budge it, and it never needs replacing.
Check this: 27 Low Maintenance Backyard Landscaping Ideas
16. Reclaimed Barn Wood Enclosure
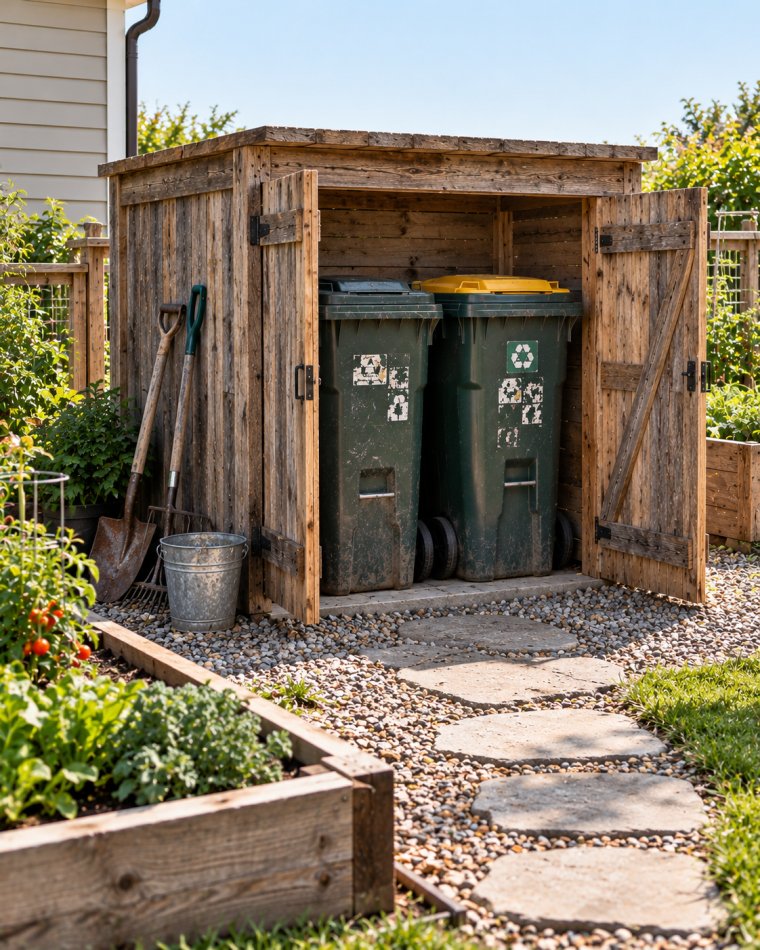
If you can get your hands on old barn wood, this one gives your cans a rustic look that store-bought materials just can’t match. Build a basic frame, then nail the reclaimed boards on with slight gaps between them for that weathered, natural style.
Every board looks a little different, so no two enclosures ever turn out the same. That’s part of what makes this option stand out from the rest.
17. Chicken Wire and Frame Screen
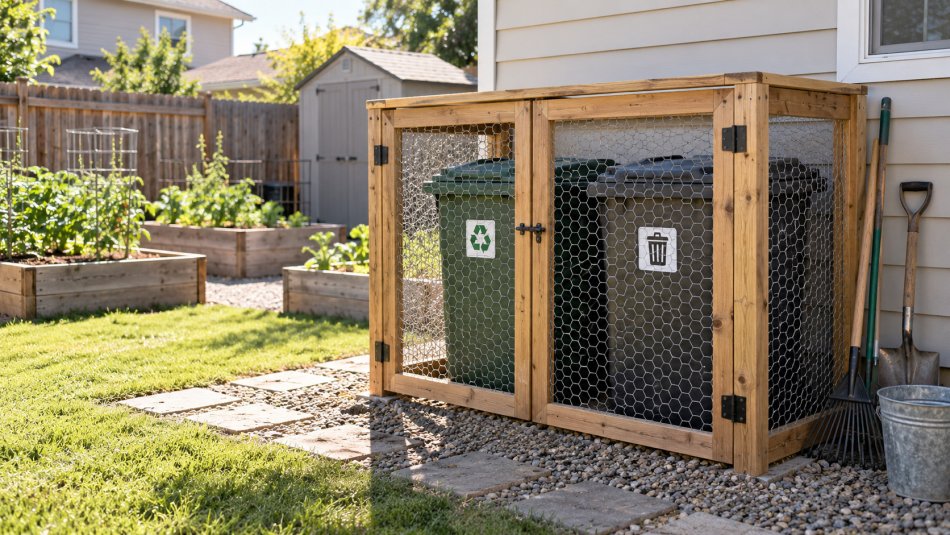
Build a simple wood frame, then staple chicken wire across the front and sides instead of solid panels. It’s one of the quickest builds here since chicken wire is cheap and easy to cut to size.
The open design keeps air moving well, which helps with smell. You can also weave in fake or real greenery through the wire if you want a little more coverage.
18. Modular Stackable Bin Cabinet
This one’s built more like furniture than a fence. Construct a wood cabinet with separate compartments for each can, adding a hinged door on the front of each section so they open individually.
Since each can gets its own space, things stay more organized than an open enclosure. It also makes it easier to grab just one can without moving all of them.
19. Painted Plywood Privacy Box
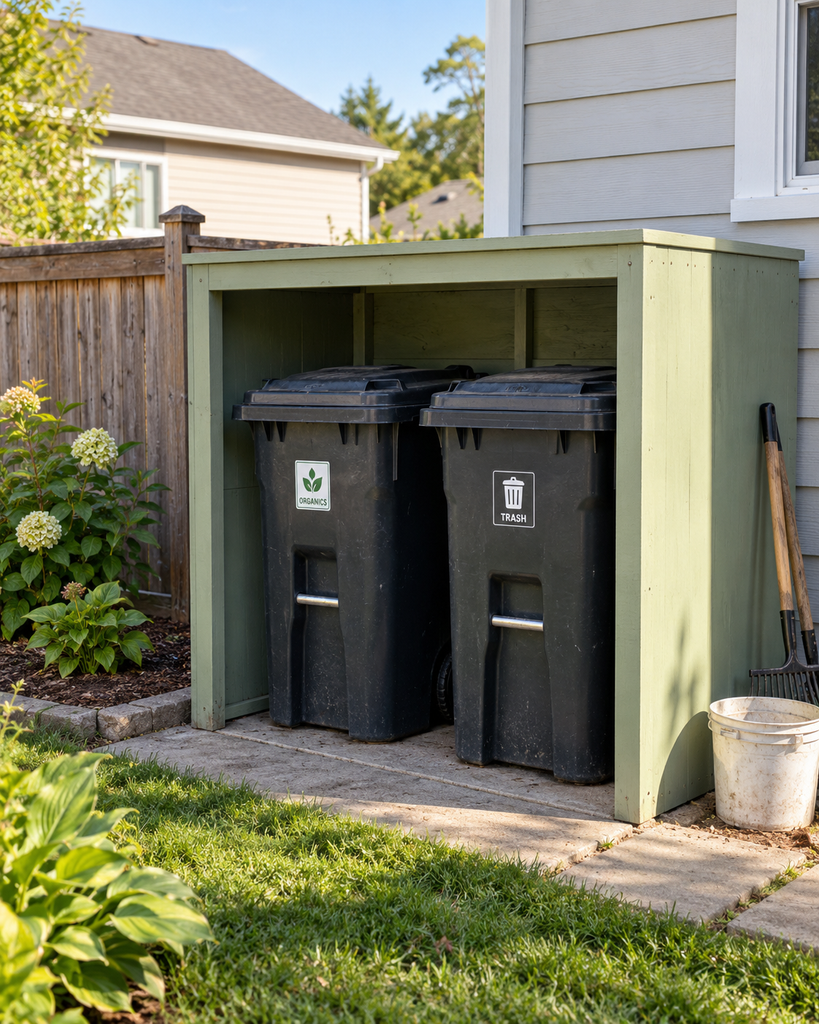
Plywood sheets are one of the most affordable materials for this kind of build. Cut them to size, screw them onto a basic frame, and add a hinged panel for a door, then finish it off with exterior paint in whatever color fits your house.
Since plywood is flat and smooth, it’s an easy surface to paint a design or pattern on if you want something more personalized. It’s a solid pick if you want simple and budget-friendly over fancy.
How to Choose the Right Storage Idea for Your Yard
Before you pick a project, take a walk around your yard and see how much space you actually have. A tiny side yard needs something slim, while a bigger driveway gives you room for a full enclosure.
Check your local rules too, especially if you’re part of an HOA. Some neighborhoods have specific guidelines on what trash storage can look like from the street.
Weather matters just as much as space. If you get a lot of rain or snow, metal or vinyl options will hold up better than plain wood over time.
Budget is another big factor, and it’s okay to start small. A simple pallet or chicken wire screen costs way less than a full wood cabinet, and you can always upgrade later.
Lastly, think about how much time you want to spend building. Some of these ideas take an afternoon, while others might take a full weekend to get right.
Also Read: 22 Paver Edging Ideas for Your Backyard Garden
Conclusion
At the end of the day, hiding your garbage cans doesn’t have to be complicated or expensive. Whether you go simple with pallets or build something more polished like the cabinet idea, there’s an option here for every yard and every budget.
Pick the one that fits your space best and give it a try this weekend. Once it’s done, you’ll wonder why you didn’t do it sooner.


Khaja Moinuddin, a computer science graduate, finds joy in gardening and homesteading. Join him on this blog as he shares his experiences in homesteading, gardening, and composting