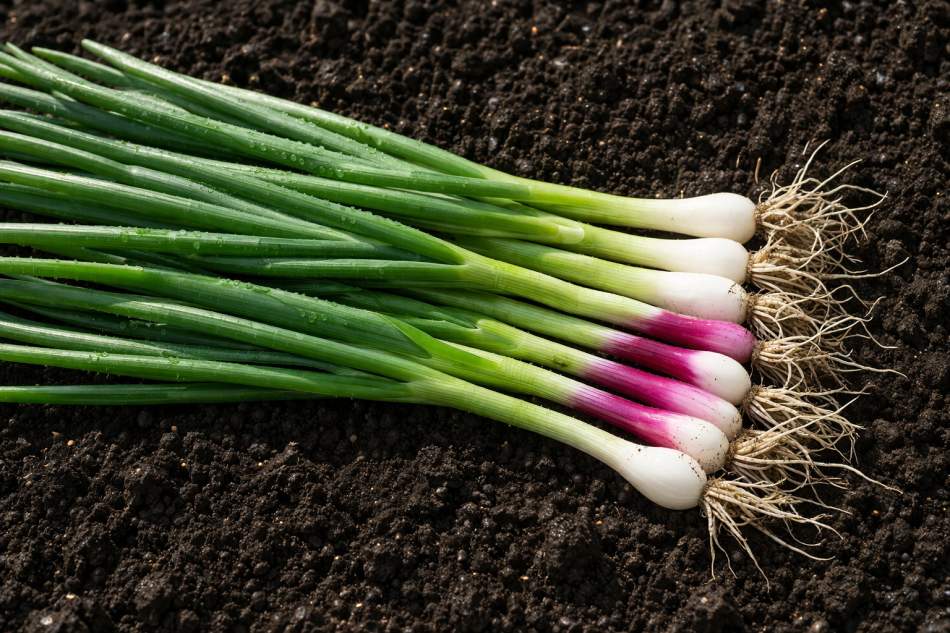
Unlike bulb onions, green onions or scallions are harvested young. Rewarded for its freshness and texture, this allium family veggie is extensively used in salads and curries.
You can grow green onions either from seeds or from sets. Seeds take a bit longer, usually around 45–60 days to reach harvest size, but they give you more variety and control over the crop.
Sets, on the other hand, grow much faster and can be ready in about 20–30 days, making them a good choice if you want a quicker harvest with less waiting.
Green onions are easy to plant and low-maintenance, making them ideal for urban gardeners who want to grow them in containers.
You need to provide loose well drained garden soil with 4-6 hours of sunlight. It all depends on your time to grow these plants from seeds or leftover onion bottoms.
These plants are not heavy feeders, but adding a little compost helps them grow better. You can expect the harvest within a few weeks. Just cut the green tops and leave the roots so they can grow again.
Later in this article I’ll share a detailed write-up on growing requirements of scallions.
How to Plant Spring Onions – An Ultimate Guide
The best part about growing green onions is that you don’t have to wait months for harvest. Apart from that, they require less space and don’t need much attention.
If you’re new to gardening, then spring onions are the perfect plants to start your gardening journey.
1. Choose the Right Time to Plant
Successful gardening heavily relies on the planting time.
Ideal time to plant scallions is when the temperature is around 55–75°F, which is why early spring or early fall works really well in most places.
If you live in warmer climates, you can actually grow them almost all year. Just try to avoid extreme heat, because that can slow things down or make the plants bolt.
A simple way to think about it—if the weather feels nice enough for leafy greens, your spring onions will be happy too.
2. Select the Right Growing Spot
Without enough sunlight, plants don’t thirve.
These plants grow best in a place that gets at least 4–6 hours of sunlight each day.
Full sun is ideal, but they can still do okay in light shade, especially in warmer weather.
Also, try to pick a spot with good air circulation. This helps keep the plants healthy and reduces the chances of disease.
If you’re growing in containers, just place them somewhere bright—like a balcony, windowsill, or patio where they can get steady light throughout the day.
Also Read: 19 Vegetables to Plant in April
3. Prepare the Soil
Loose and well-drained soil allows the green onion roots to develop easily without holding excess water.
Before planting, it’s a good idea to mix in compost or organic matter, which improves soil structure and adds essential nutrients.
These plants prefer a slightly acidic to neutral soil, with an ideal pH between 6.0 and 7.0.
Avoid using heavy or compacted soil, as it can retain too much moisture and lead to poor growth or root rot. Well-prepared soil creates a strong foundation for healthy, steady growth.
4. Planting Methods
Once your soil is ready, this is where the real growing begins. Spring onions can be planted either from seeds or from sets, and both methods work well—it just depends on how quickly you want results and how much effort you want to put in.
How to Plant Green Onions from Seeds?
Growing from seeds takes a little more patience, but it gives you better control and more variety.
- Start by sowing the seeds directly into the soil at a depth of about ¼ inch.
- Keep them spaced 1–2 inches apart, or you can sow them a bit closer and thin them later once they start growing.
- After planting, water gently so the soil stays moist but not soggy.
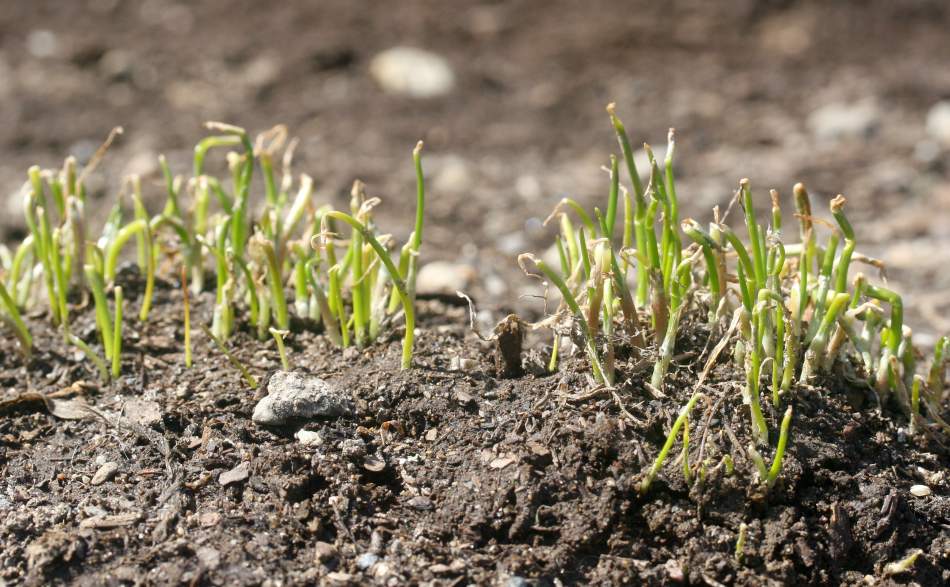
Seeds usually take 7–14 days to germinate, depending on the temperature.
As the seedlings grow, make sure they’re not overcrowded—this helps them develop straight, healthy stems. If needed, thin them out to give each plant enough space.
Check this: When to Start Planting Seeds Indoors?
Growing Spring Onions from Sets
Planting from sets is the easier and faster option, especially for beginners.
- Take the small onion bulbs and plant them just below the soil surface, with the pointed tip facing upward.
- Keep the tip slightly above the soil line. Space each set about 2 inches apart so they have room to grow.
After planting, water lightly to settle the soil around the bulbs. Sets establish quickly and start growing almost right away, which is why they’re perfect if you want a quicker harvest with less waiting.
Both methods work well, so you can even try them together and see which one you prefer.
5. Watering Tips
Now let’s talk about watering—this is one of the easiest things to get right if you keep it simple. Spring onions like the soil to stay lightly moist, but not soggy.
Give them regular, light watering, especially in the early stages when they’re still establishing. Instead of soaking the soil all at once, it’s better to water a little more often so the moisture stays consistent.
Just be careful not to overwater. If the soil stays too wet, it can lead to root rot or weak growth. A good rule is—if the top layer of soil feels slightly dry, it’s time to water again.
Care and Growing Tips
Once your spring onions start growing, they don’t need much fuss, but a little care goes a long way. Keep an eye on overcrowding—if plants are too close together, gently thin them out so each one has space to grow properly.
You can also give them a light boost by adding a bit of compost or a mild fertilizer, but it’s not always necessary if your soil is already healthy. Make sure to remove weeds regularly, since they compete for nutrients and can slow down growth.
If you want to make things even easier, add a thin layer of mulch. It helps keep the soil moist, reduces weeds, and keeps the roots cool—especially in warmer weather.
Also Read: 19 Herbs to Plant in Spring
Do You Need to Hill Spring Onions?
Unlike potatoes, spring onions don’t really need hilling. They grow well without adding extra soil around the base, so you can keep things simple.
That said, if you want longer white stems (the tender part most people like), you can lightly mound a bit of soil around the base as they grow. This helps keep that part covered and gives you more of the white portion at harvest.
But overall, hilling is completely optional—your plants will grow just fine without it.
How Long Do they Take to Grow?
One of the best things about spring onions is how quickly they grow. If you’re starting from seeds, they usually take about 45 to 60 days to reach harvest size. It takes a bit more patience, but you get a steady, healthy crop.
If you’re using sets, things move much faster—you can start harvesting in just 20 to 30 days. That’s why many beginners prefer this method.
You don’t always have to wait for full maturity either. You can harvest them early when they’re smaller and more tender, or let them grow a bit longer if you want a slightly stronger flavor.
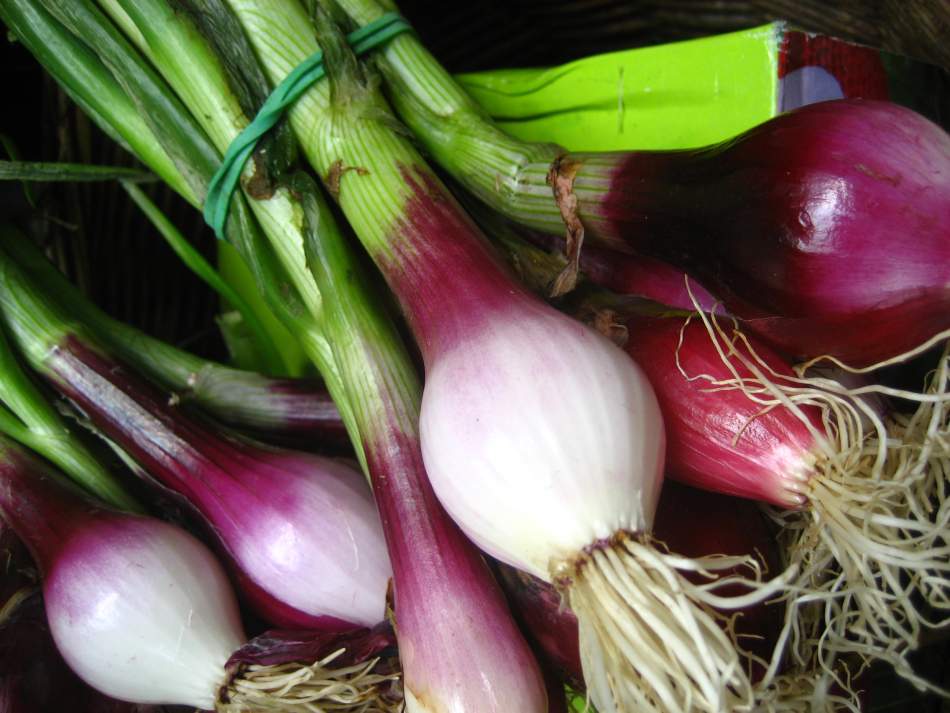
When and How to Harvest?
Now comes the fun part—harvesting. Spring onions are usually ready when they reach about 6–8 inches tall and the white base is about the thickness of a pencil.
You can either pull out the whole plant if you want to use it all at once, or simply cut the green tops with scissors. If you leave the roots in the soil, they’ll often grow back, giving you multiple harvests from the same plant.
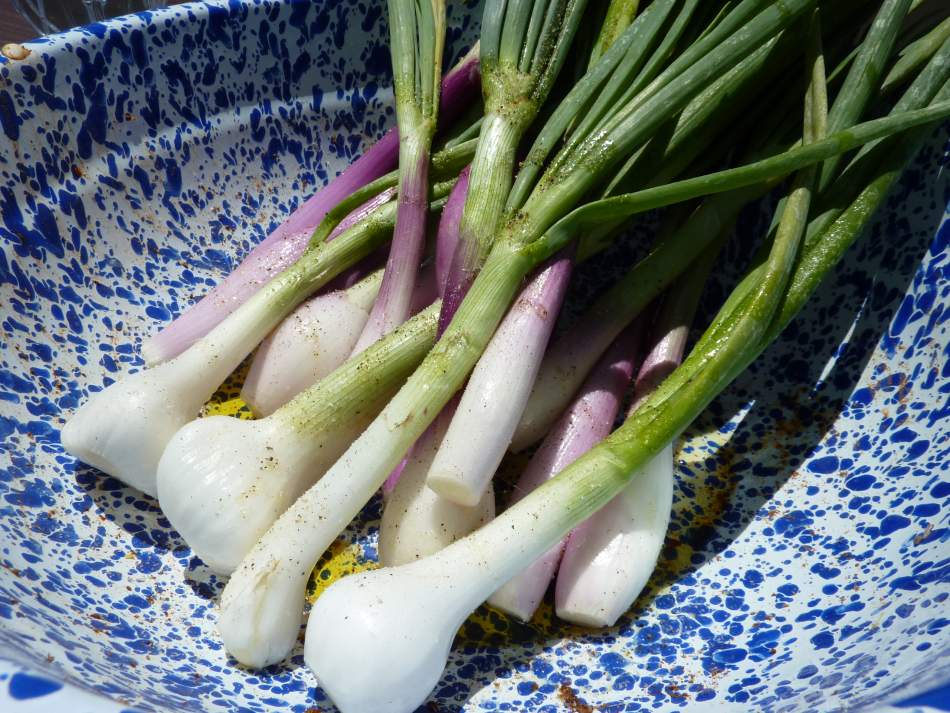
For the best flavor, try to harvest them while they’re still young and tender. Don’t wait too long, or they can become a bit tougher and stronger in taste.
Also Read: 19 Tips to Grow Blueberries in Spring
How to Grow Spring Onions in Containers?
If you don’t have a garden, no problem—spring onions grow really well in containers.
- All you need is a pot that’s at least 6–8 inches deep with good drainage holes at the bottom.
- Fill it with loose, well-draining soil, and plant your seeds or sets just like you would in the ground.
- Place the container in a spot that gets plenty of sunlight, like a balcony, patio, or near a bright window.
Make sure to water regularly, since containers tend to dry out faster than garden soil.
With just a little care, you can easily grow a fresh supply of spring onions even in a small space.
Common Problems and Quick Fixes
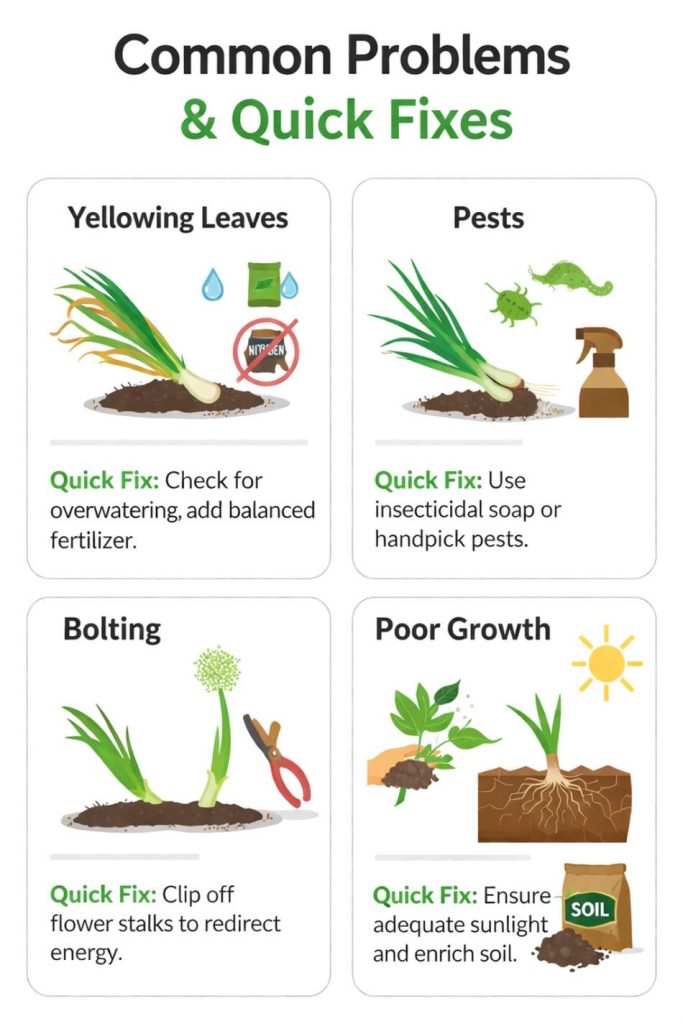
Spring onions are generally low-maintenance, but like any plant, they can show a few signs when something isn’t right. The key is to catch these early and make small adjustments.
- If you notice yellowing leaves, it’s usually linked to overwatering or poor drainage. Check if the soil feels too wet—if it does, reduce watering and make sure excess water can drain out easily. Sometimes, it can also mean the soil is low in nutrients, so adding a bit of compost can help.
- When plants look thin, weak, or not growing well, overcrowding is often the reason. Spring onions need a little breathing room, so thinning them out allows each plant to get enough light, water, and nutrients.
- If the tips start turning brown or dry, it could be due to inconsistent watering or heat stress. Try to keep watering regular and avoid letting the soil completely dry out for long periods.
- You might also come across small pests like aphids or tiny insects on the leaves.
- In most cases, they’re easy to manage—just rinse the plants with a gentle stream of water or use a mild soap spray. Good airflow and clean growing conditions usually keep pest problems under control.
Overall, most issues come down to watering, spacing, and basic care. Once you get these right, spring onions tend to grow smoothly without much trouble.
Conclusion
Spring onions are one of the easiest and most rewarding vegetables you can grow at home. They don’t need much space, grow quickly, and fit well into almost any garden or container setup.
Whether you start from seeds or sets, the process is simple and beginner-friendly. With the right soil, a bit of sunlight, and regular watering, you’ll have a fresh supply ready to harvest in just a few weeks.
Once you try growing them, you’ll see how convenient it is to have fresh spring onions always within reach—perfect for adding a quick burst of flavor to your everyday meals.

Khaja Moinuddin, a computer science graduate, finds joy in gardening and homesteading. Join him on this blog as he shares his experiences in homesteading, gardening, and composting