Raised garden beds can be expensive, but they have their share of benefits, which include higher productivity, easier maintenance and improved soil quality.
In this article you’ll learn an easy way to build a raised garden bed using wooden pallets.
You can use old pallets left in your backyard or visit a local recycling center to get them cheaply.
How to check if a pallet is safe for garden use?
Checking whether a pallet is safe for gardening is simpler than most people think. Just look for the little stamp on the side with the tree logo and treatment code.
If it says HT, KD, or DH, you’re in the clear because these methods use heat instead of chemicals. But if you spot MB, avoid it completely since methyl bromide is toxic.
Once the stamp checks out, take a moment to inspect the pallet itself. Stains, oily patches, strange odors, or discoloration are signs it carried something you don’t want near your soil.
Make sure the wood is clean, dry, and solid when pressed. Anything soft, cracked, or suspicious should be tossed without hesitation.
Where you source pallets matters just as much as the stamp. Farms, garden centers, and recycling yards are usually safer choices than industrial zones.
If you’re growing edible plants, lining the inside with heavy plastic adds an extra layer of protection. And remember—unstamped pallets are unpredictable, so it’s best to skip them.
Cons of Using Pallets for Raised Garden Bed
Benefits of using pallets for gardening can’t be ignored, but you should also be aware of possible drawbacks to avoid any issues.
Cost and Durability
Using pallets for raised beds is definitely budget-friendly at the start, but the wood doesn’t always hold up long-term. Since pallet boards break down faster in moisture and soil, you may find yourself repairing or replacing parts more often.
Over time, that extra maintenance can add to both your workload and your overall gardening costs. While pallets save money upfront, longevity isn’t their strongest point.
Potential Chemical Contamination
Not every pallet is safe for gardening, especially if it was treated with chemicals like methyl bromide. These treatments can leach into the soil and potentially affect your plants or edible crops.
Even when a pallet is stamped safe, it may still carry residues from whatever it previously transported. That’s why checking stamps and inspecting wood carefully is always important.
Soil Drying and Watering Needs
Pallet-based raised beds tend to dry out faster because they drain well and sit above ground. This means you’ll likely need to water more frequently to keep the soil consistently moist.
In hot or windy climates, this extra watering can add to your gardening workload. It’s manageable, but something to consider if you prefer low-maintenance beds.
Also Read: 11 Common Raised Bed Gardening Mistakes to Avoid
Limited Design Flexibility
Pallets come in fixed sizes, which can limit how creative you can get with your garden layout. Building curved or irregular-shaped beds becomes a challenge when the wood doesn’t easily adjust.
If you decide to rearrange or expand later, you may need to dismantle or rebuild parts of the pallet structure. It’s doable, but not nearly as flexible as using loose lumber.
How to Build a Raised Garden Bed Using Pallets?
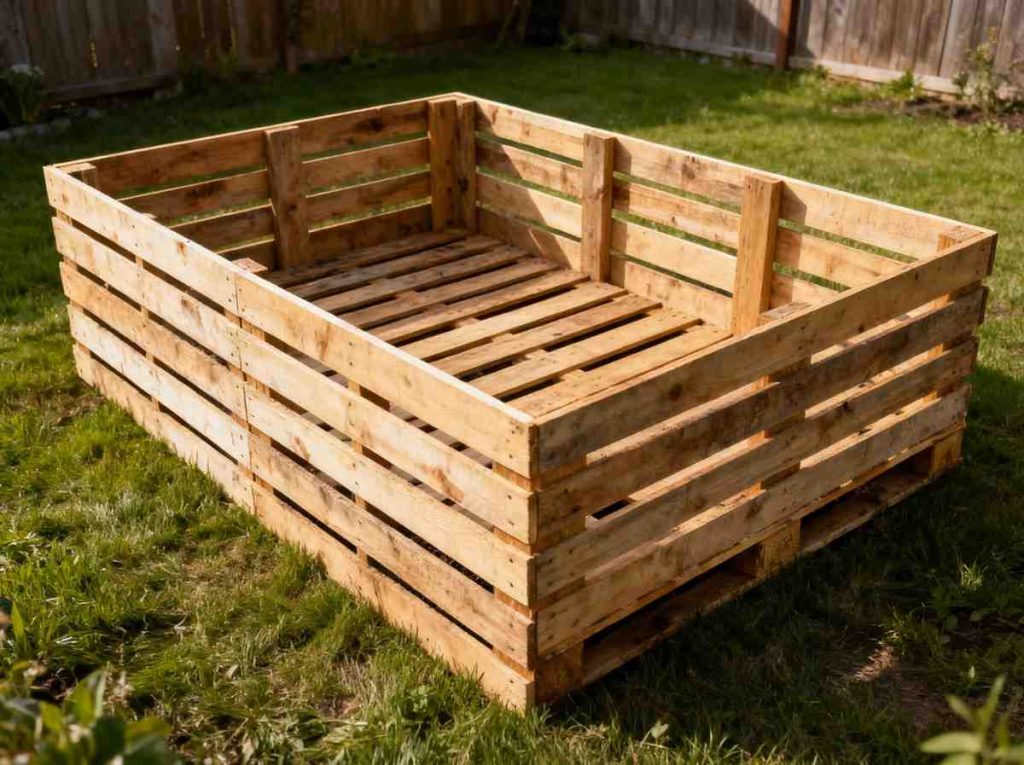
Building a raised bed from pallets is one of those DIY projects that feels surprisingly easy once you start.
You’re basically turning free or cheap scrap wood into a productive garden space—without needing fancy tools or carpentry experience.
What makes pallet beds great is how customizable they are.
You can build a long, wide, short, or tall bed depending on your garden and the pallets you find. With a little cutting, sanding, and screwing things together, you get a sturdy bed that lasts several years.
Before you start, make sure your pallets are heat-treated and safe for gardening.
Once you have solid wood to work with, the rest of the process becomes simple assembly—like building furniture, but for your plants.
Materials and Tools You’ll Need
You don’t need expensive lumber for this project. Most of what you need can be found for free with a little searching.
Materials:
- 3–5 heat-treated (HT) pallets
- 1-1/2″ wood screws
- 3-1/2″ screws for corner joints
- Landscape fabric (optional)
- Wire mesh (optional for rodents)
Tools:
- Reciprocating saw or pry bar
- Circular saw or hand saw
- Power drill
- Tape measure + level
- Sandpaper or sander
- Safety gloves + eye protection
Step 1: Source and Inspect Pallets
Start by checking warehouses, grocery stores, construction sites, or recycling yards. Many places are happy to give away broken or unused pallets if you ask politely. Look for the HT stamp, which means heat-treated and safe for gardening.
Avoid pallets labeled MB (methyl bromide), or any that smell odd, look oily, or have chemical stains. Strong, clean “stringer pallets” are your best bet because they have thicker support beams and last longer outdoors.
Step 2: Disassemble the Pallets
Taking pallets apart can feel like a workout, but it’s the hardest part of the whole project. A reciprocating saw (Sawzall) slices through nails easily, but a pry bar works too — just slower.
Remove all nails, staples, broken wood, and anything jagged. Sort everything into deck boards (the flat planks) and stringers (the thick beams). This keeps your building process smooth later.
Step 3: Cut Boards to Size
You can build almost any size bed, but here are two reliable options:
For a 3′ x 6′ bed (12″ tall):
- Cut deck boards into 36″ lengths
- Cut six 14″ stringer pieces for supports
For a 20″ x 48″ bed (20″ tall):
- Cut deck boards into 20″ pieces
- Cut stringers to 30″ for the shorter sides
Trim off cracks, rough edges, or any part of the wood that looks weak. Clean cuts make assembly much easier.
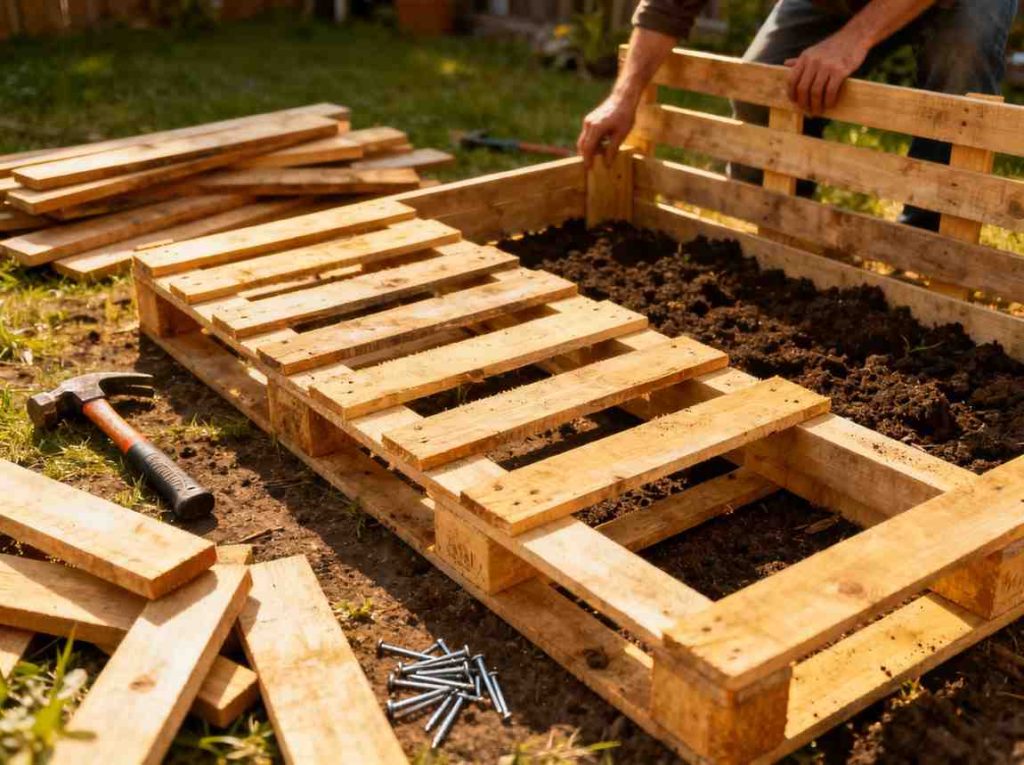
Step 4: Prepare the Site
Choose a level, sunny spot. Use a spirit level to check the ground and adjust soil until your bed won’t lean or wobble.
Want extra durability? Place paving stones or bricks under each corner. If burrowing animals are a problem, lay wire mesh across the ground before placing the bed. It blocks moles, rats, and voles from getting inside.
Also Read: 13 Small Garden Ideas in Your Budget
Step 5: Assemble the Side Panels
Here are two simple ways to build the sides:
Method 1: Classic 3′ x 6′ Frame
Stack deck boards until you reach 12″ height. Attach them horizontally to the 14″ support posts.
Let the posts stick 2″ below the bottom board — that helps anchor the bed into the soil.
Build four long panels and two short panels.
Method 2: Rectangular Pallet Panels
Lay two stringers parallel and fill the space with deck boards. Screw everything in place.
Repeat the process to build the opposite long side and the two shorter ends.
This method is faster and works great if your pallet boards are uniform.
Step 6: Connect the Frame
Stand all panels upright to form a box. Position the shorter ends inside the long sides for stronger corners. Pre-drill holes and secure each corner with 3-1/2″ screws.
Add a horizontal support between the middle posts for extra strength. If you have leftover stringer pieces, place them inside the corners vertically — your bed will last longer and resist bowing.
Step 7: Add Bottom Support (Optional)
If you want a bed with a bottom:
- Lay deck boards across the base, leaving gaps for drainage
- Or staple landscape fabric to contain soil
- Or add wire mesh first, then fabric for rodent control
Beds with bottoms are perfect for patios, balconies, and rental spaces where you don’t want to disturb the ground.
Step 8: Finishing Touches
Give everything a quick sanding to remove splinters. Pallet wood is rough, so a few minutes of sanding makes a big difference.
Want it to look fancy?
Add a trim around the top using thin 1×4 strips. For square-foot gardening, create a grid using narrow slats spaced 12″ apart. This makes planting easier and more organized.
Step 9: Fill and Plant
Place your finished bed in the garden, ensuring it sits flat and level. Fill it with a mix of compost, potting soil, and topsoil. Leave about 1–2″ of space below the top so water doesn’t overflow.
Also Read: 13 Front Yard Fall Flower Bed Ideas

Conclusion
Building a raised garden bed from pallets is one of the easiest, most affordable ways to expand your garden space. With a little salvaged wood, a few basic tools, and an afternoon of effort, you can turn discarded pallets into a sturdy, productive bed that lasts for years.
Once it’s built, all that’s left is the fun part—filling it with rich soil and planting your favorite vegetables, herbs, or flowers. It’s a simple DIY project that saves money, recycles materials, and gives your garden a fresh new growing spot season after season.

Khaja Moinuddin, a computer science graduate, finds joy in gardening and homesteading. Join him on this blog as he shares his experiences in homesteading, gardening, and composting