Though spring is regarded as the season of planting, you can still grow potatoes in your backyard in the fall.
Not many gardeners try fall potatoes, but the ones who do often stick with it.
Warm soil from summer gets seed potatoes moving fast, and the cooling temperatures that follow push the plant’s energy straight into tuber development underground.
Timing and variety selection matter more than anything else here — get those two things right and the rest falls into place pretty naturally.
This guide walks you through the whole process — when to plant, what to plant, how to prep your beds, and what to do when it’s time to dig. If you’ve got a spare patch of garden and a few weeks before your first frost, you’ve got enough to work with.
Can You Grow Potatoes in Fall?
Yes, you can — and in many climates, it’s easier than you’d think.
Here’s the short version if you’re just getting started:
- Fall potato planting works best in USDA Hardiness Zones 6 through 10, where the growing season stretches long enough to give tubers time to develop.
- Count back 10 to 14 weeks from your first expected frost date — that’s your planting window.
- Always start with certified seed potatoes, not grocery store spuds. They’re disease-free and bred to actually grow.
- Fall harvests tend to produce slightly smaller potatoes than spring, but the flavor and quality are often excellent — sometimes better.
- If you’re in a colder zone, it’s still worth checking your local frost dates. You might have just enough time depending on your microclimate.
Not sure when your first frost hits? Your local cooperative extension office is a solid place to start, or a quick search with your zip code will pull it up fast.
Also Read: 12 DIY Greenhouse PVC Plans to Build on a Budget
How to Grow Potatoes in Fall?
Before you start to plant, it’s worth knowing whether fall potatoes actually make sense where you live. They work best in Zones 7 through 10 — the South, Southwest, and most of California. Zone 6 can work too, but the planting window is tight and variety choice matters more.
Zones 5 and colder rarely have enough growing season to make it worthwhile. If your first frost lands before mid-October, check your dates carefully — the 10 to 14 week window may not close in time.
Step 1: Figure Out Your Planting Window
Timing is everything with fall potatoes. Plant too late and frost cuts the season short. Plant too early and summer heat causes seed potatoes to rot in warm soil.
Your first frost date is the anchor point for everything. If you don’t know yours, a quick search with your zip code or the Old Farmer’s Almanac website gets you there fast. Once you have it, count back 10 to 14 weeks — that’s your planting window.
Early varieties mature in 70 to 90 days, mid-season types need 90 to 110. Late-season varieties push past 110 days and rarely work for fall planting. Stick with early or mid-season to stay safely ahead of frost.
Step 2: Pick the Right Potato Variety
Not every potato is built for fall planting. You need varieties that mature fast enough to beat the frost and handle warm soil at the start of the season.
Early maturing varieties are your safest bet. Yukon Gold matures in around 70 to 90 days, produces consistently, and stores well.
Red Norland is another solid choice with good disease resistance. Kennebec runs a bit longer at 80 to 100 days but handles variable conditions better than most and gives a reliable yield.
Skip late-season varieties like Russets. They need 110 or more days to mature, and in a fall garden that timeline rarely works unless you’re gardening in Zone 9 or 10.
Step 3: Buy the Right Seed Potatoes
Walk past the potato bin at the grocery store. Most commercial potatoes are treated with a sprout inhibitor that stops them from growing reliably, and they haven’t been tested for disease.
Always start with certified seed potatoes — inspected, disease-free, and guaranteed to sprout. If you saved potatoes from your spring harvest, you can reuse them. Just inspect each one carefully and toss anything soft or discolored.
Step 4: Preparing the Soil After Summer
Summer is hard on garden soil. By the time you’re ready for a fall planting, the ground has likely been baked, compacted, and stripped of nutrients. A little prep work here pays off more than most people expect.
Loosen the soil to at least 12 inches deep using a garden fork rather than a tiller. Work in a generous amount of compost before planting — it feeds the soil and improves drainage at the same time. Avoid fresh manure. It’s too hot, can burn young roots, and raises the risk of bacterial problems.
Soil temperature matters more than most gardeners realize. Seed potatoes won’t sprout reliably above 85°F or below 45°F. The sweet spot is 60 to 70°F. A cheap soil thermometer takes the guesswork out completely.
Sandy soil dries out fast — mix in compost to help it hold moisture. Heavy clay holds too much water and can suffocate developing tubers. Breaking it up with compost and coarse sand solves most of the problem.
Step 5: Planting Your Potatoes
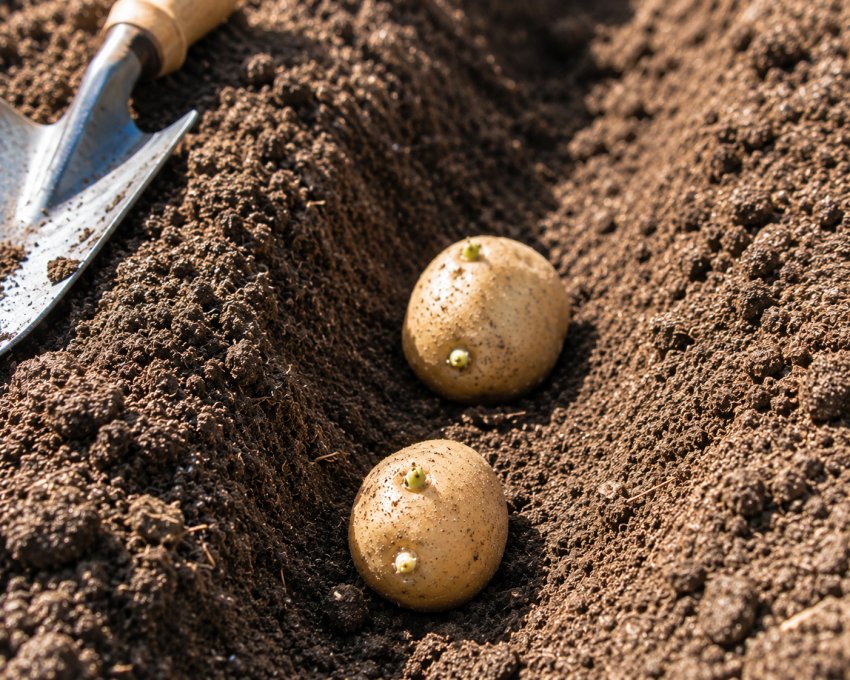
Plant seed potatoes 4 inches deep, 12 inches apart, with rows 2 to 3 feet apart.
Small seed potatoes go in whole — larger ones should be cut into pieces with at least one or two eyes and left to callus for a day before planting.
Water thoroughly after planting and expect sprouts within 10 to 14 days.
Also Read: 19 Vegetables to Plant in August
Step 6: The First Three Weeks Matter Most
For the first week or two, nothing looks like it’s happening above ground — that’s normal. The seed potato is building roots and storing energy before pushing a shoot to the surface. As long as soil temperature sits between 60 and 70°F, things are moving along just fine.
Most varieties show sprouts within 10 to 14 days. If you’re pushing three weeks with nothing, check soil temperature first. If a potato feels soft and smells off when you dig around it, it’s rotted — replant if you still have time. Once shoots break the surface, keep a row cover nearby in case frost arrives early.
Step 7: Caring for Fall Potatoes
Once your plants are up and growing, the care routine is pretty manageable. A few things done consistently make a bigger difference than any single effort.
Watering
Potatoes need one to two inches of water per week. Inconsistent moisture causes cracking or rot — stick your finger in the soil and water only when it feels dry a few inches down.
Fertilizing
Once plants reach six inches tall, a balanced fertilizer helps. Go easy on high-nitrogen options — too much pushes leaf growth instead of tuber development.
Hilling
Mound soil around the base when plants reach six to eight inches tall. This keeps tubers covered and prevents them from turning green.
Mulching
Four to six inches of straw mulch stabilizes moisture, regulates temperature, and cuts down on weeding.
Check this: 17 Best Vegetables that Grow on Trellis
Summer Heat Can Be the Biggest Challenge
Soil above 85°F slows sprouting and can rot seed potatoes before they get going. A soil thermometer tells you exactly where you stand.
Shade cloth drops soil temperature by several degrees during the hottest part of the day, evening watering keeps things cooler, and a thick layer of straw mulch insulates against both heat and early cold snaps.
Fall Frost Can Be the Second Challenge
A light frost damages foliage but rarely kills the plant. A hard frost below 28°F is different — cover the bed with straw and the tubers will often keep developing underground even after the tops die back.
Common Problems and Simple Fixes
No sprouts after three weeks usually means soil that’s too cold or too wet. Check temperature and drainage before assuming the seed potatoes are bad.
Yellow leaves point to overwatering or nutrient deficiency. Cut back on watering first, then try a balanced fertilizer if yellowing continues.
Small potatoes almost always come down to planting too late or early heat stress. Adjust your timing next season.
Green potatoes mean sun exposure — stay on top of hilling throughout the season.
Cracked potatoes happen when watering is inconsistent. Mulch well and water evenly to prevent it.
Rot traces back to poor drainage or fresh manure. Stick with compost only.
Scab shows up in alkaline soil — lower your pH with sulfur or pine needle mulch.
Also Read: 18 Vegetables to Plant in September
Pests & Diseases Common in Fall
Fall brings fewer pests than spring, but aphids, Colorado potato beetles, flea beetles, slugs, and rodents can still show up.
Knock aphids off with water, hand-pick beetle eggs from leaf undersides, and sprinkle diatomaceous earth around the base of plants to deter slugs.
Late blight spreads fast in cool, wet conditions — dark, water-soaked patches on leaves are the sign. Remove affected plants immediately and don’t compost them.
Early blight causes yellow and brown spots but is less aggressive and manageable with good air circulation. Soft rot links to poor drainage or overwatering.
Blackleg turns the stem base black and collapses the plant — remove it promptly, it can’t be saved.
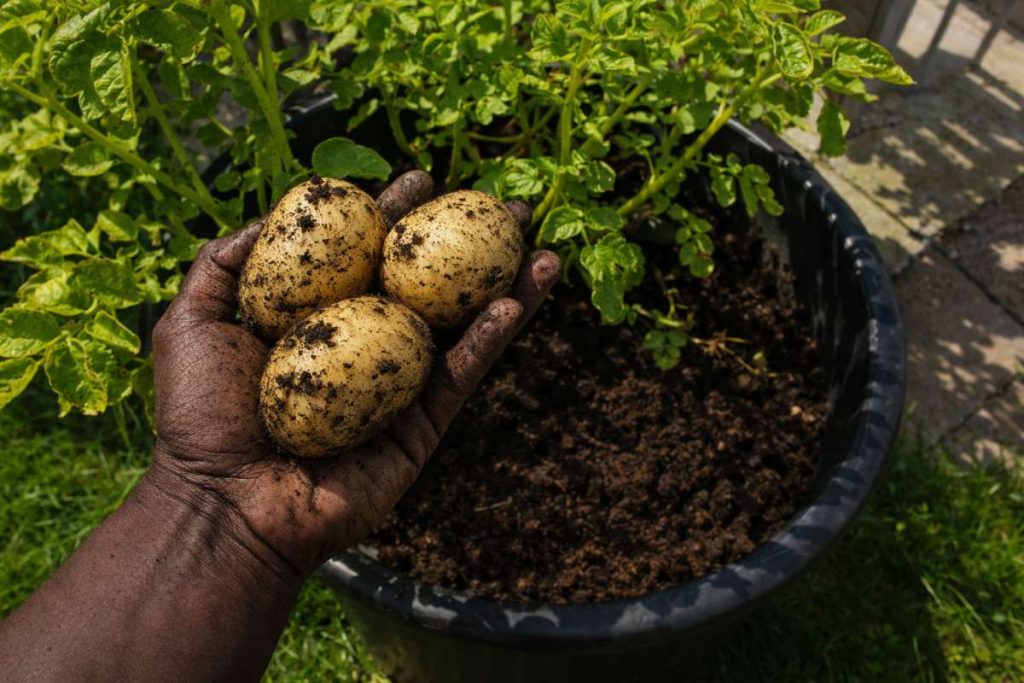
Growing Potatoes in Containers
Containers work surprisingly well for fall potatoes, and they give you more control over soil temperature and drainage.
Grow bags are a popular choice because they allow air pruning of roots and prevent overwatering.
A standard five-gallon bucket works too — just drill drainage holes in the bottom. Raised planters give you the most space and are easiest to manage.
Whatever you use, go at least 12 inches deep. Potatoes need room to develop downward. Container soil dries out faster than ground soil, so check moisture levels every day or two during warm weather.
Can You Grow Potatoes in Raised Beds?
Raised beds are actually one of the better setups for fall potatoes. The soil warms up faster in spring and drains more reliably after rain — both useful in a fall growing situation.
Harvesting is easier too since you’re not digging through compacted ground soil.
Fill with a mix of quality topsoil and compost, and you’ve got a ready-made environment that suits potatoes well.
How Long Do Fall Potatoes Take to Grow?
Fall potatoes take 10 to 14 weeks from planting to harvest. Early varieties like Yukon Gold can be ready in 70 days. Mid-season types need closer to 90 to 100 days.
Don’t go strictly by the calendar though. When foliage starts yellowing and dying back naturally, the potatoes are maturing. Ease off watering and give them another week or two before digging.
If frost threatens early, cut the foliage down and mulch the bed heavily. The tubers will keep developing underground a little longer.
When Are Fall Potatoes Ready to Harvest?
When leaves yellow and stems die back, stop watering and wait two weeks before digging. That rest period firms up the skins for better storage.
Not sure? Do a test dig. If skins don’t rub off with light pressure, they’re ready.
If frost is coming before plants die back naturally, harvest early rather than risk losing the crop.
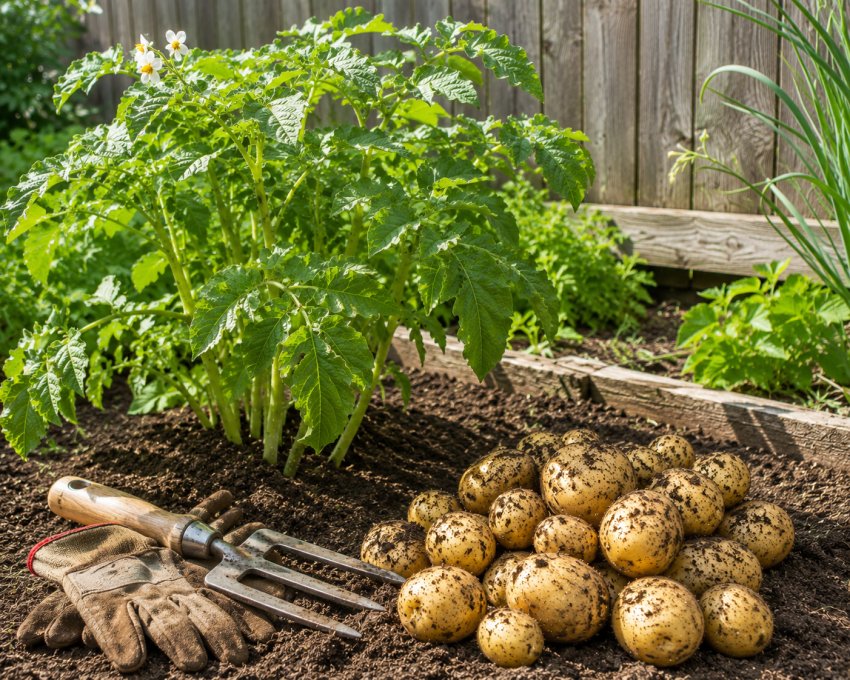
How to Harvest Without Damaging Potatoes?
Use a garden fork, not a spade, and push it in about a foot away from the plant before levering upward.
Work around each plant to loosen the soil first, then gather potatoes by hand and set aside anything cut or damaged for immediate use.
Conclusion
Fall potatoes are one of those crops that reward you for paying attention to timing and soil prep more than anything else. Get those two things right and the rest takes care of itself pretty naturally.
If this is your first time trying a fall crop, start small, pick an early maturing variety, and see what your garden can do. You might be surprised by what comes out of the ground.

Khaja Moinuddin, a computer science graduate, finds joy in gardening and homesteading. Join him on this blog as he shares his experiences in homesteading, gardening, and composting