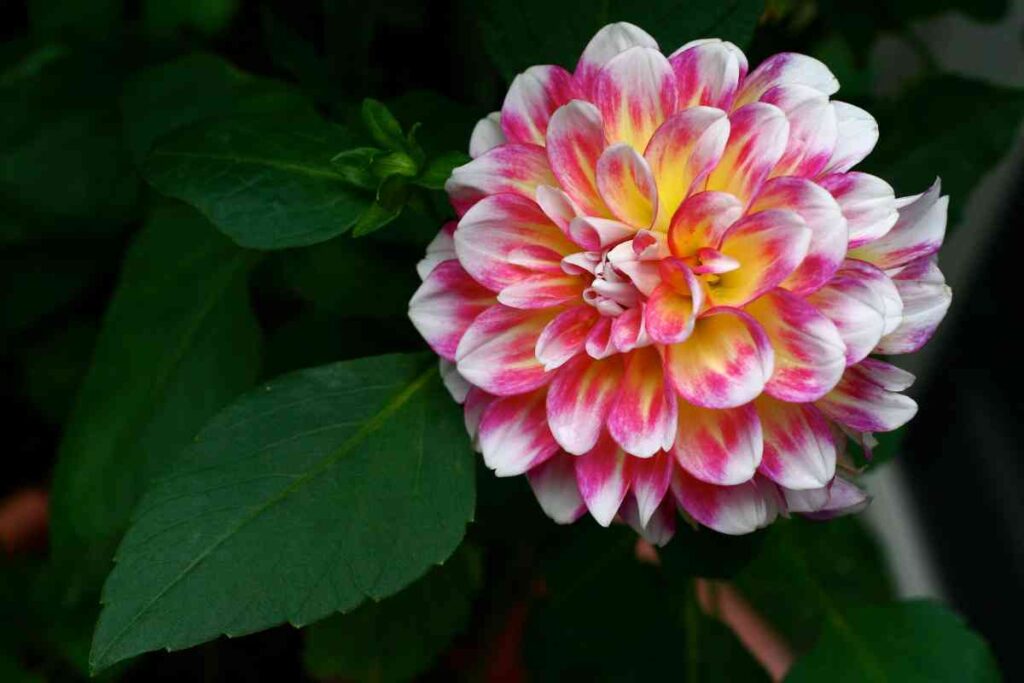
Not just to beautify your garden, you can use Dahlias as cut flowers to improve aesthetics of your living space.
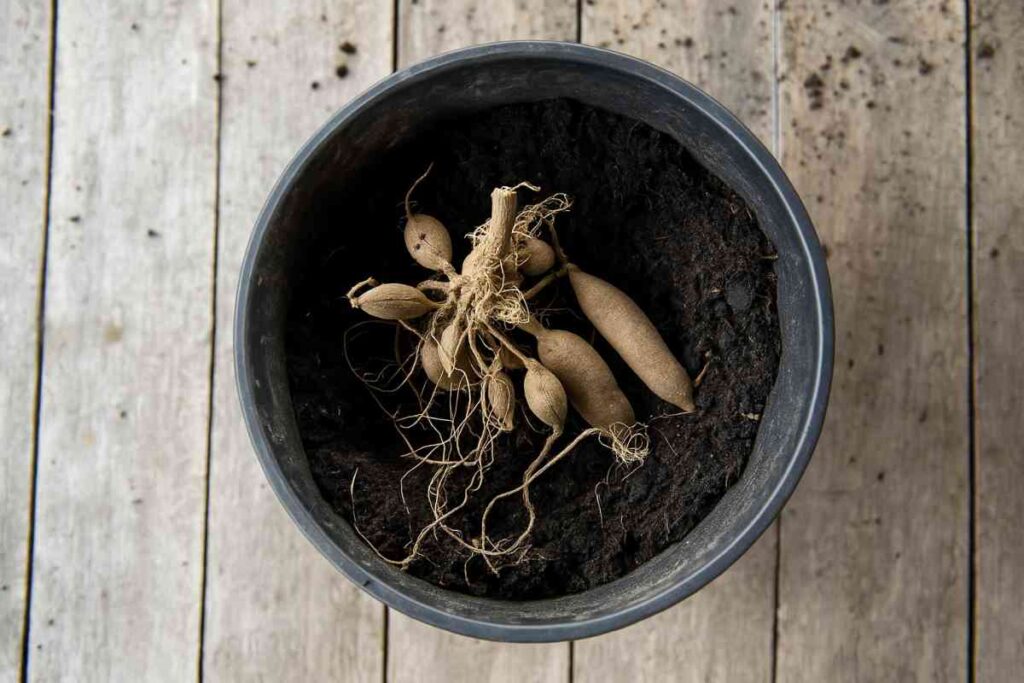
You can grow Dalias easily by dividing tubers, but the number of plants you can propagate through this method depends on the tubers your plant produced during previous year.
Instead, you can propagate Dahlias through cuttings to get exact replica of parent plant.
Growing from cuttings also allows you to propagate any number of plants with few tubers.
Everyone can’t buy tubers to grow dahlias, as they are expensive.
Propagating through cuttings allows a new gardener to experience the joy of growing a whole plant at a fraction of the cost of buying new tubers.
In this write-up you’ll learn two ways of stem cuttings that you can use to grow your own Dahlias. At the end, you’ll also get a brief info on how to propagate from division method.
Before that let’s understand more about the growing requirements of the plant and why it’s important to propagate through stem cuttings.
There are two methods to stem cuttings that you can use to grow your dahlias.
Choose a healthy mother plant and cut it’s stem just below a node. Remove lower leaves and dip it in rooting hormone. Insert the stem cutting in a potting soil mix and wait for 2-3 weeks to see root form.
Second way is to Start with a well-established tuber planted shallowly so its top peeks out. After stems develop, cut at the stem–tuber junction, keeping a small tuber “heel.” Plant in pre-moistened, well-drained medium; maintain high humidity, bright indirect light. Once rooted, pot on and acclimatize.
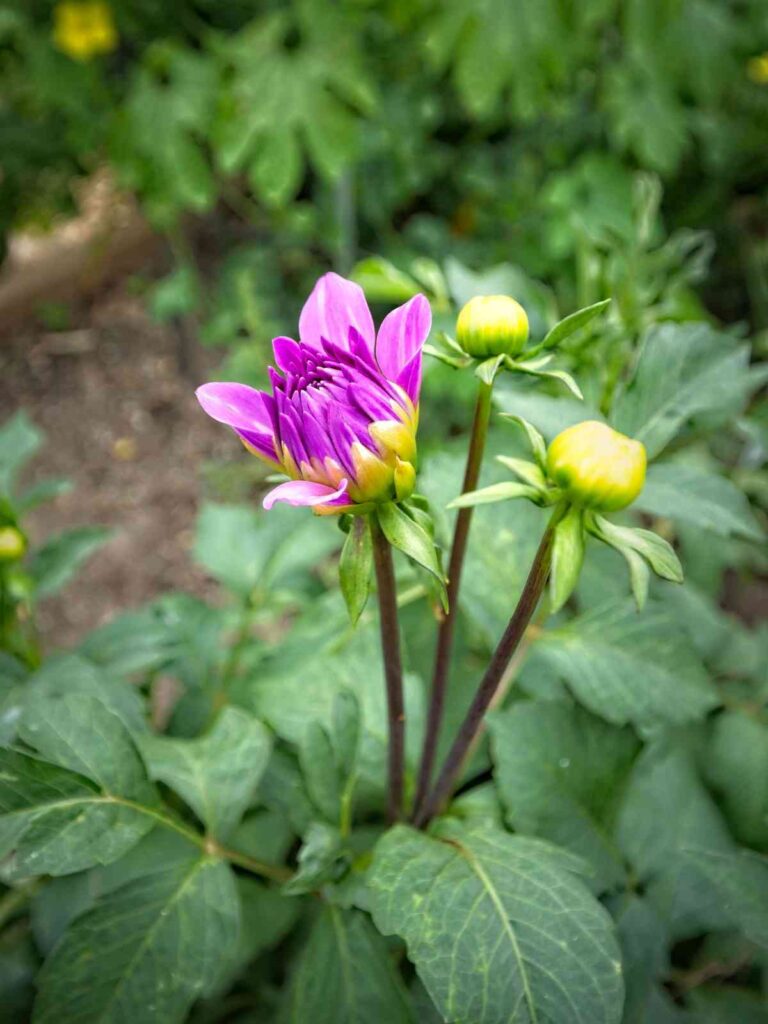
Growing Requirements of Dahlias

Dahlias prefers full sun—aim for at least 6–8 hours daily—and grow best in warm conditions with soil around 60–70F. In very hot climates, give light afternoon shade to prevent stress and reduced flowering.
Plant in well‑drained soil that’s slightly acidic to neutral (about pH 6–7) and avoid overwatering before shoots emerge to prevent rot. Once growing, water deeply to keep soil evenly moist, and use mulch 2–3 inches thick to cool shallow feeder roots and retain moisture.
Fertilize modestly with blends lower in nitrogen and higher in phosphorus and potassium to encourage blooms over foliage. Space plants for airflow, stake taller varieties early, and consider shade cloth or occasional misting during extreme heat to keep plants productive.
Choose a sunny, wind‑protected site with at least morning light for best results. In consistently hot regions, strategies like afternoon shade, mulching, and regular feeding help dahlias continue to flower through heat spells.
Benefits of Propagating Dahlias through Cuttings
Propagating dahlias from cuttings lets you multiply plants quickly from a single tuber, saving money and space. Because cuttings are clones, they keep the exact flower color, form, and habit of the parent.
Cuttings often root fast and establish earlier than divisions, leading to stronger plants and earlier blooms. It also preserves the original tuber, which can keep producing more shoots.
This method protects rare or expensive varieties by reducing the risk of losing them in storage. It’s easy to do indoors with simple tools, making it great for sharing or producing uniform plants.
How to Grow or Propagate Dahlias from Cuttings?
As mentioned most gardeners rely on purchasing new tubers each season, propagating dahlias from stem cuttings offers an economical and rewarding way to multiply your favorite varieties.
To have successful dahlia propagation your parent plant should exhibit show no signs of pest damage or disease. The mother plant should exhibit strong, robust stems with healthy foliage.
Method 1: Simple Stem Cuttings
Simple stem cutting is the most accessible and widely-used method for propagating dahlias. This technique involves taking a portion of stem that contains at least one node and encouraging it to develop its own root system.
While straightforward in concept, success depends heavily on attention to detail and proper technique throughout the process.
Essential Tools
- Sharp, clean secateurs or pruning shears: Blade sharpness is crucial for making clean cuts that heal quickly. Dull blades can crush stem tissue, creating entry points for pathogens.
- Isopropyl alcohol (70%): For sterilizing cutting tools between plants to prevent disease transmission.
- Clean cloth or paper towels: For wiping tools during the sterilization process
- Rooting hormone: Available in powder, gel, or liquid forms. Powder formulations often provide longest shelf life, while gels adhere better to stems.
- High-quality rooting medium: Options include fine coir, perlite-vermiculite mix, seed-starting compost, or specialized cutting compost. The medium must retain moisture while providing excellent drainage.
- Small containers: 3-4 inch pots work well, or use propagation trays with individual cells.
Step-by-Step Process
1. Timing and Plant Selection
Optimal Timing
The best time for taking dahlia cuttings is during active growth periods, typically from late spring through mid-summer. Early morning is ideal when plants are fully hydrated from overnight moisture recovery.
Selecting Cutting Material
- Choose stems that are neither too soft (which may rot) nor too woody (which root slowly)
- Look for stems with 3-4 nodes and healthy, vibrant foliage
- Avoid flowering stems as they direct energy toward bloom production rather than root development
- Select stems that are approximately pencil thickness for optimal rooting potential
2. Taking the Perfect Cutting
Cutting Technique
- Make your cut approximately ¼ inch below a node using a single, swift motion
- The ideal cutting length is 4-6 inches, ensuring you have at least 2-3 nodes
- Cut at a slight angle to increase the surface area available for root development
- Take cuttings during cooler parts of the day to minimize stress
Node Identification
Nodes appear as slight swellings on the stem where leaves emerge. These areas contain concentrated meristematic tissue—undifferentiated cells capable of developing into roots. The area just below a node contains the highest concentration of root-promoting hormones.
3. Advanced Cutting Preparation
Leaf Management Strategy
- Remove all leaves from the lower half of the cutting to prevent rot and reduce moisture loss
- For remaining upper leaves, cut them in half horizontally to reduce transpiration while maintaining some photosynthetic capacity
- Make clean cuts on leaf removal to avoid tearing that could invite disease
- Leave at least one complete node with growing tip intact at the top
Wound Treatment
- Allow the cut surface to air dry for 10-15 minutes to form a slight callus
- This brief drying period helps prevent rot when the cutting is inserted into moist medium
- In humid conditions, extend this drying time slightly
4. Rooting Hormone Application
Hormone Selection and Application
- Choose a rooting hormone appropriate for softwood cuttings (typically 0.1-0.3% IBA concentration)
- Dip only the bottom ½ inch of the stem into powder hormone, tapping off excess
- For gel formulations, apply a thin, even coating to the cut surface
- Avoid over-application, which can actually inhibit rooting
Natural Alternatives
- Willow water: Soak willow twigs in water for 24 hours to create natural rooting hormone
- Honey solution: Mix one tablespoon honey with two cups warm water for natural antimicrobial properties
- Cinnamon powder: Can be dusted on cuts for its antifungal properties
5. Planting Medium and Container Setup
Medium Preparation
- Pre-moisten your chosen medium until it feels like a wrung-out sponge
- Fill containers, leaving about ½ inch from the rim
- Create planting holes using a pencil or dibber to avoid damaging the cutting when inserting
- Ensure drainage holes are clear and functional
Planting Depth and Spacing
- Insert cuttings deep enough to cover at least one complete node
- Firm medium gently around the cutting to eliminate air pockets
- Space multiple cuttings to allow air circulation between them
- Plant at the same depth the cutting will eventually grow, avoiding too-deep placement
6. Creating Optimal Environmental Conditions
Humidity Management
- Cover containers with clear plastic to maintain 80-90% humidity
- Ensure covers don’t touch the cuttings to prevent fungal issues
- Create ventilation holes if condensation becomes excessive
- Mist cuttings lightly if humidity levels drop
Temperature Control
- Maintain consistent temperatures between 65-75°F (18-24°C)
- Bottom heat can accelerate rooting—use heating mats set to 70°F
- Avoid temperature fluctuations which stress developing roots
- Monitor with a min/max thermometer to track conditions
Light Requirements
- Provide bright, indirect light equivalent to what you’d find under a tree canopy
- Avoid direct sunlight which can overheat and stress cuttings
- Fluorescent lights placed 12-18 inches above cuttings work well for indoor propagation
- Maintain 12-14 hour photoperiods for optimal results
7. Monitoring and Maintenance
Daily Care Routine
- Check moisture levels daily, watering when the surface begins to dry
- Remove any fallen leaves or debris that could harbor disease
- Monitor for signs of fungal problems such as gray mold or black stem rot
- Gradually reduce humidity as roots develop by opening ventilation
Signs of Success
- New growth at the tip typically indicates successful root development
- Gentle resistance when lightly tugging the cutting suggests root formation
- Fresh, healthy leaf color and firm stem texture are positive indicators
- Root development usually begins 10-21 days after planting, varying by variety and conditions
8. Troubleshooting Common Problems
Cutting Failure Issues
- Wilting: Usually indicates insufficient humidity or overwatering
- Blackened stems: Often caused by fungal rot from excessive moisture or poor air circulation
- No root development: May indicate old cutting material, incorrect temperature, or poor hormone application
- Leaf yellowing: Normal for lower leaves, concerning if affecting all foliage
Recovery Strategies
- For minor wilting, increase humidity and reduce light intensity temporarily
- Remove affected plant material immediately to prevent spread of problems
- Adjust watering frequency based on environmental conditions
- Consider re-taking cuttings from fresh material if problems persist
Method 2: Stem-and-Tuber Cuttings
The stem-and-tuber cutting method represents an advanced dahlia propagation technique that combines traditional stem cutting principles with the enhanced rooting power of attached tuber tissue.
This method requires advance planning and strategic preparation but consistently delivers superior results compared to simple stem cuttings.
The key innovation lies in taking cuttings that include a small “heel” of tuber tissue, which provides additional stored energy, natural rooting hormones, and improved establishment rates.
While more complex than basic stem cutting, this method often achieves success rates of 80-90% and produces more vigorous plants that establish faster in their permanent locations.
Step-by-Step Guide
Step 1: Early Season Tuber Preparation
Plant dahlia tubers in early spring using shallow planting technique, leaving the top ½ to ¾ inch of tuber visible above soil level. Use well-draining potting mix in containers at least 8-10 inches deep. This strategic shallow planting encourages multiple stem development directly from the tuber crown, creating ideal cutting material for harvest in 5-6 weeks.
Step 2: Monitor Stem Development
Wait for stems to reach 4-6 inches tall with healthy green coloration and firm texture. Look for stems with good node spacing and strong attachment points to the tuber.
The optimal cutting window occurs when stems are neither too soft (which may rot) nor too woody (which root slowly). Early morning harvest provides the best plant hydration levels.
Step 3: Prepare Cutting Area
Set up a clean, well-lit workspace with all materials ready. Sterilize cutting tools with alcohol and carefully brush away soil from around stem bases to expose the tuber connection points. This exposure allows you to identify the optimal cutting line where stem meets tuber tissue.
Step 4: Take Precision Cuttings
Using a sharp knife, make cuts at a slight downward angle starting approximately ¼ inch into the tuber tissue. Include a “heel” of tuber tissue about the size of a small coin attached to each stem cutting. The cutting should include 2-3 nodes on the stem portion and maintain clean wound surfaces to prevent disease entry.
Step 5: Treat and Prepare Cuttings
Allow cut surfaces to air dry for 15-30 minutes to form protective callus tissue. Remove lower leaves from the stem while preserving more upper foliage than simple stem cuttings due to the energy reserves in tuber tissue. Optionally dust cut tuber surfaces with fungicidal powder to prevent rot development.
Step 6: Plant with Enhanced Drainage
Plant cuttings in specialized high-drainage medium with extra perlite or coarse sand. Position the tuber portion just at or slightly below soil surface while ensuring at least one stem node is buried. Use deeper containers to accommodate both developing roots and tuber tissue, maintaining natural horizontal orientation.
Step 7: Create Optimal Environment
Establish 85-90% humidity using clear covers while providing gentle air circulation to prevent stagnant conditions around tuber tissue. Maintain consistent temperatures of 68-75°F using bottom heat if available. Provide bright, indirect light equivalent to filtered sunlight conditions.
Monitor Development
Watch for multiple indicators including tuber tissue health, stem vigor, and root development from both stem nodes and tuber tissue. Expect faster development than simple stem cuttings, with root initiation often beginning 5-7 days earlier due to stored energy reserves. Remove any signs of rot immediately.
Conclusion
Stem-and-tuber cuttings offer a reliable, high-success method to propagate dahlias with speed and vigor. By including a small tuber “heel,” cuttings root faster and establish more robustly.
With a bit of early planning and careful technique, this method consistently outperforms simple stem cuttings. It’s ideal for multiplying prized varieties and building a strong, healthy dahlia collection.

Khaja Moinuddin, a computer science graduate, finds joy in gardening and homesteading. Join him on this blog as he shares his experiences in homesteading, gardening, and composting